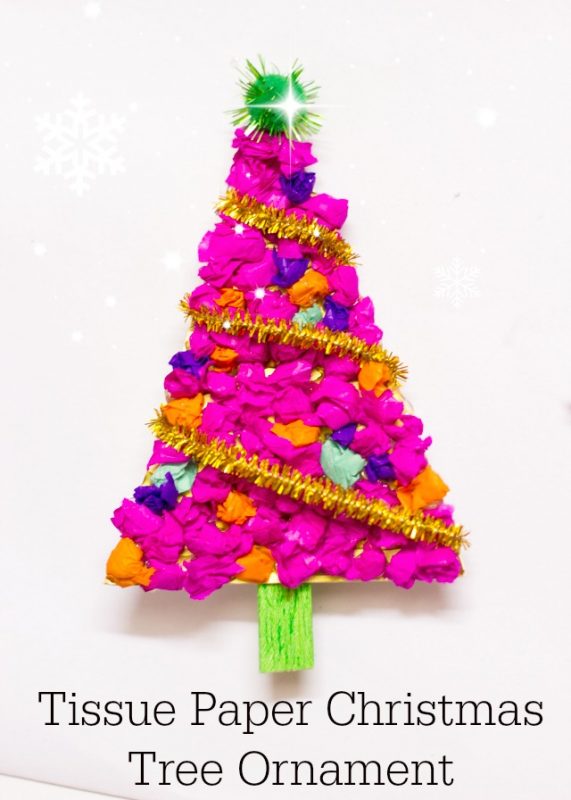
Supplies for Tissue Paper Tree Ornament:
Green craft stick Golden thick card stock paper Golden pipe-cleaner Green or red sparkly pom pom Lots of tissue papers in different colors Scissors Glue
Directions:
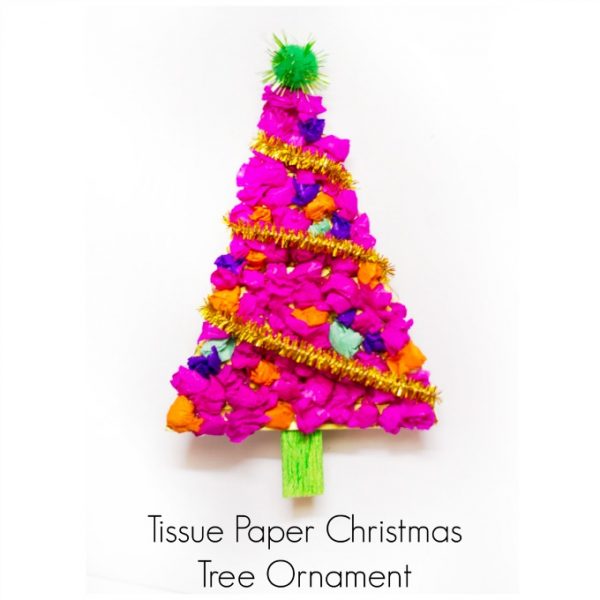
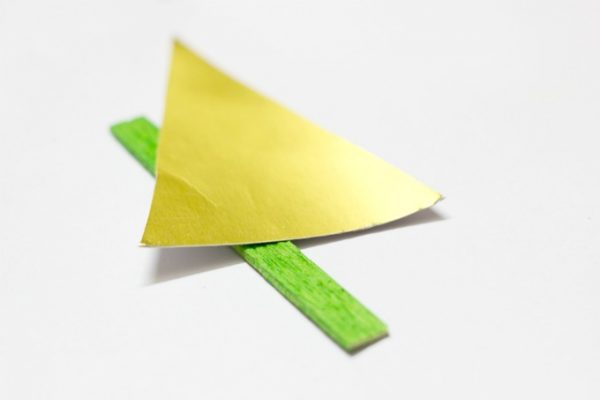
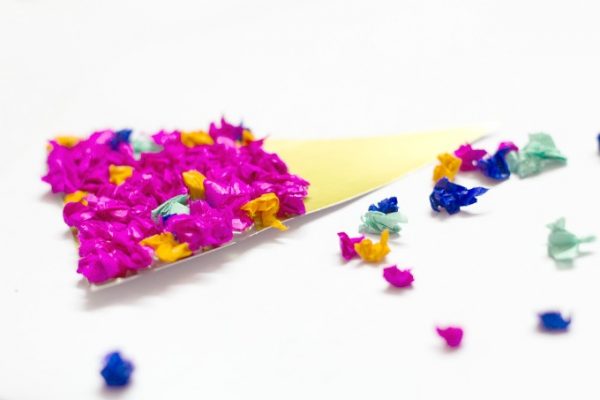
Cut out a simple triangle from a thick cardstock using scissors. I used gold, but you can use any color. I loved how little sections of the gold would peep from between the tissue sheets and catch the gorgeous Christmas light.
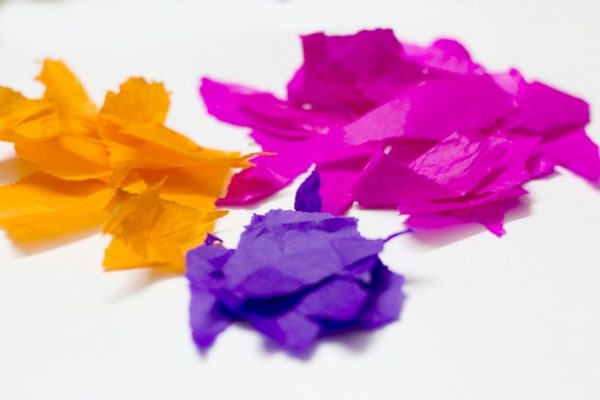
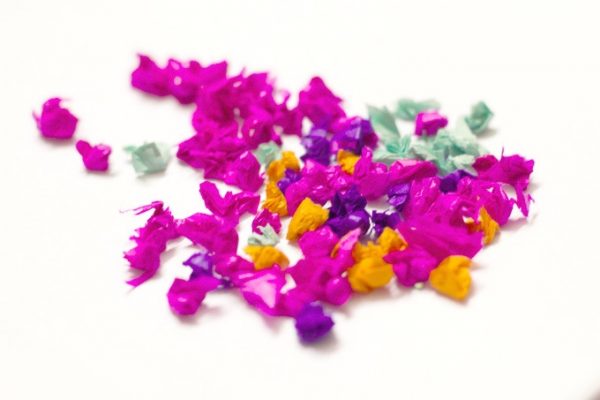
Now this is the fun part. Tear the tissue papers into small bits. Get your toddler involved too. Kids just love tearing up the papers and this is a fun fine motor activity for kids too. We tore up pink, blue, orange & green. Now start rolling each piece between your palms to form a rough mini ball. The shapes don’t really matter, but they should be tight. Gather all your paper balls at one side. Again, you could sort them by color if you like.
Using glue ( you will need a stronger glue like a glue gun or PVA) start lining your paper balls in a straight line till the whole triangle is covered.
Finally, wind the golden pipe-cleaner around the tissue paper Christmas tree. Glue in place. Add the green pom-pom on the top of the tree. Doesn’t it look fab there? You could also add a star ornament or sticker on the top. Using the same glue, stick the craft stick at the back of the ornament to make the trunk. String a twine at the top and hang it on your tree or use them as gift tags. This project is perfect to make with younger kids. If you have older kids at home, try the craft felt stitched Christmas ornament. Using the same technique, you can make different shapes, maybe Rudolph with a pom pom red nose or even a snowman.