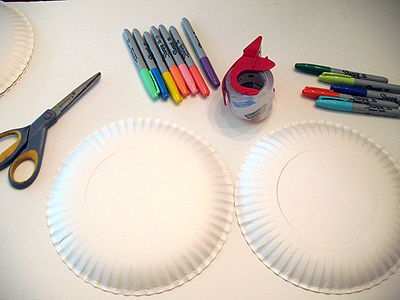
Supplies for paper plate frisbees:
2 paper plates for each frisbee colorful markers or crayons scissors clear shipping tape
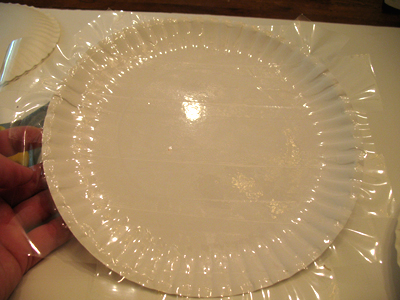
Place both plates right side up, as if you were going to put food on them. Cover them with clear shipping tape, allowing the excess tape to overlap, but do not fold it over. Use the scissors to cut off the excess around the plate.
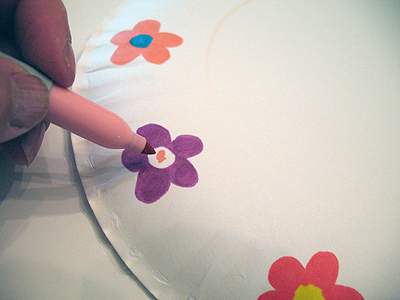
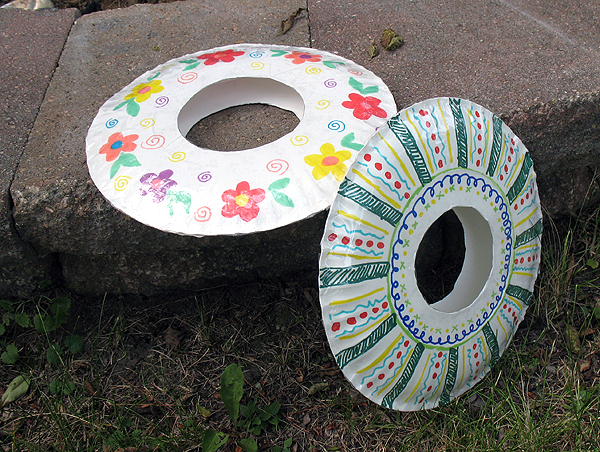
Turn the plates upside down and use makers or crayons to decorate as you wish.
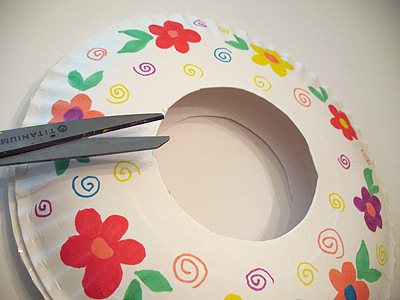
Place bot plates together so that the decorated sides are facing out. Holding the plates together, cut a circle out of the center of each plate.
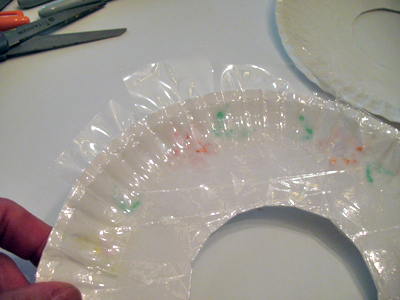
Place both plates, decorated side facing up, onto the work surface. Using the clear shipping tape, cover the decorated side, over lapping the center circle. Fold the edges over through the center circle and trim the edges of the outside of the plate.
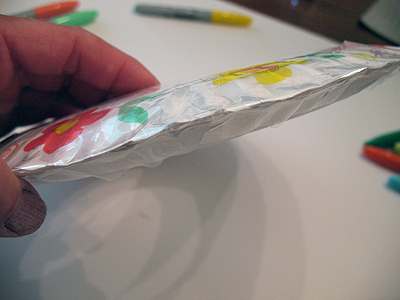
Place the two plates together, decorative side facing outward, and tape all of the edges together.
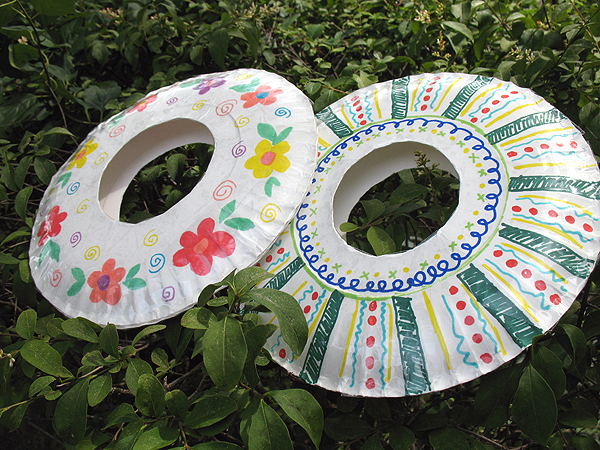
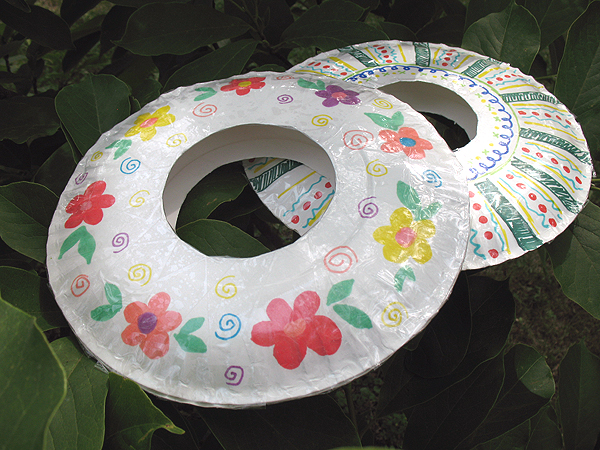
Play!
Want more fun craft ideas? See these Amazing Paper Plate ideas from Happy Hooligans!