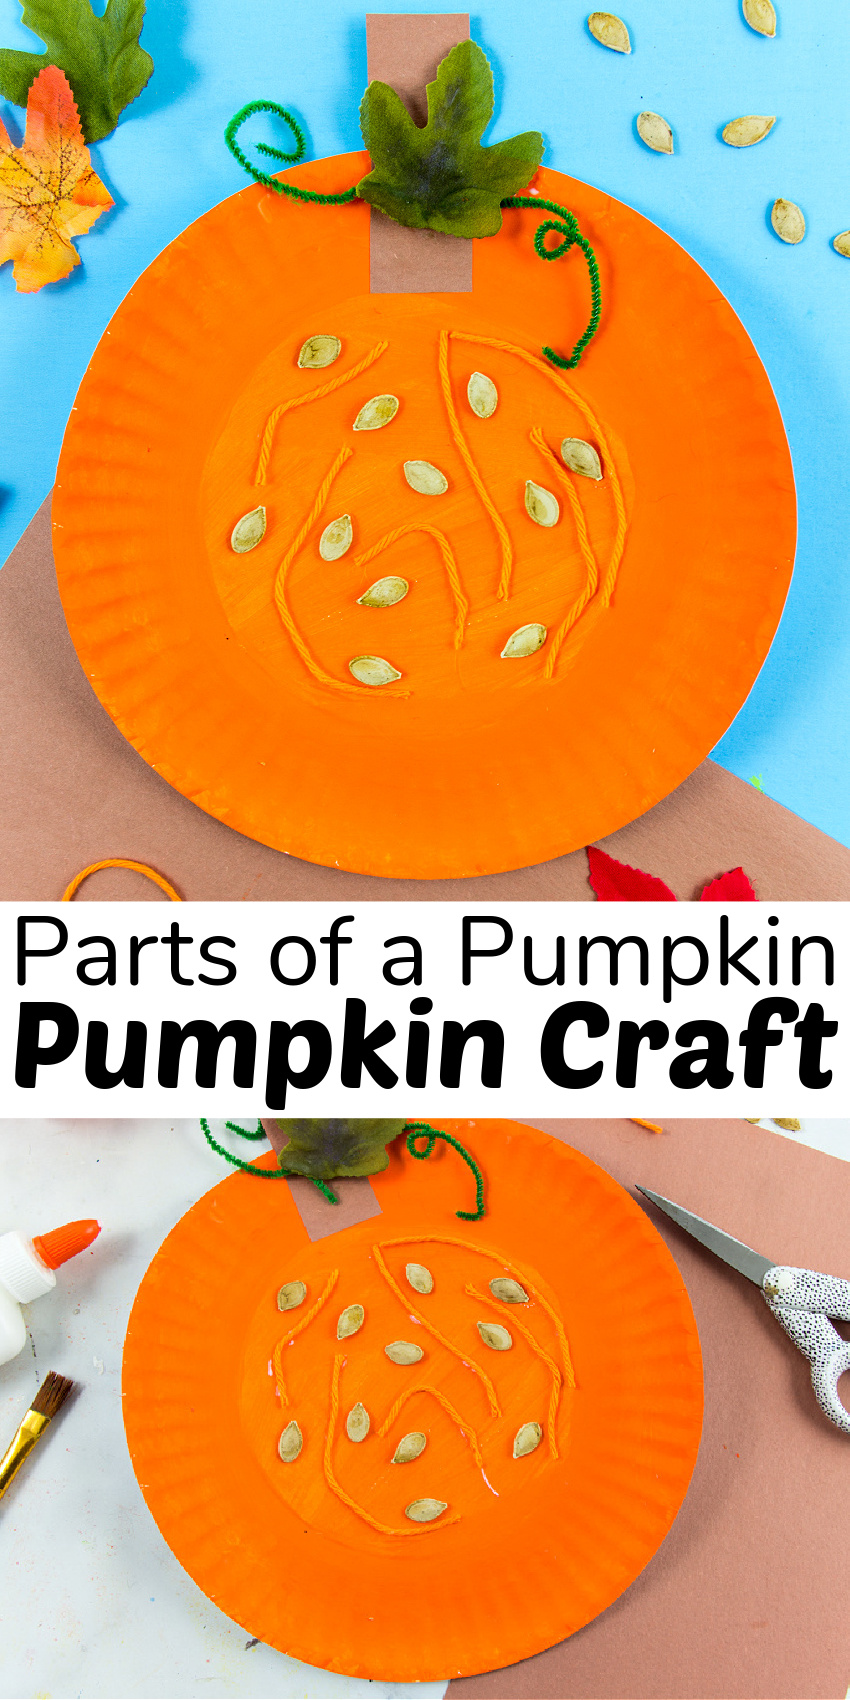
Craft some fun this fall while you study the parts of a pumpkin with kids using our fun paper plate pumpkin craft. Pumpkin crafts are perfect for school, home, or to make on Thanksgiving to keep the kids busy.
How to make a paper plate pumpkin
This craft is perfect if you are looking for ways to use the pumpkins on your front porch as they start to go bad after Halloween. You could also make it if you are drying pumpkin seeds after you carved pumpkins for Halloween, or if you are making pumpkin pie. It’s a great way to teach kids about the parts of a pumpkin.
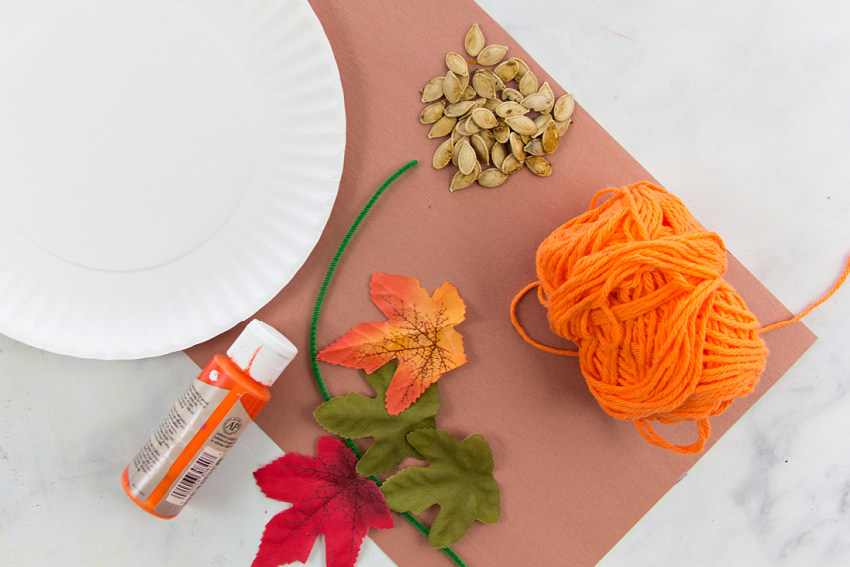
Supplies
Paper plate Orange paint Paintbrush Brown construction paper Green pipe-cleaner Leaf – construction paper, faux leaves, or real leaves Orange yarn Pumpkin seeds School glue Scissors
Instructions
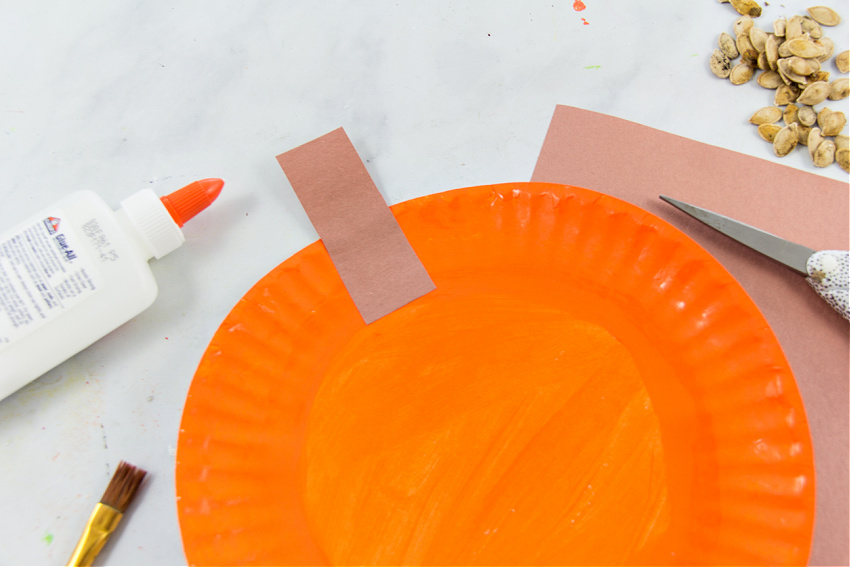
Step 1
Paint your paper plate using the orange paint.
Step 2
Cut a stem for your pumpkin out of brown construction paper and glue it into place.
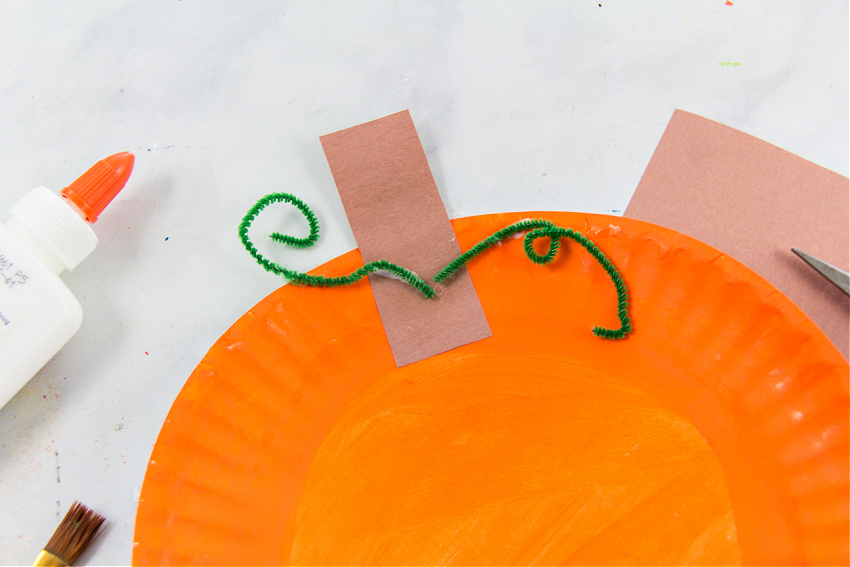
Step 3
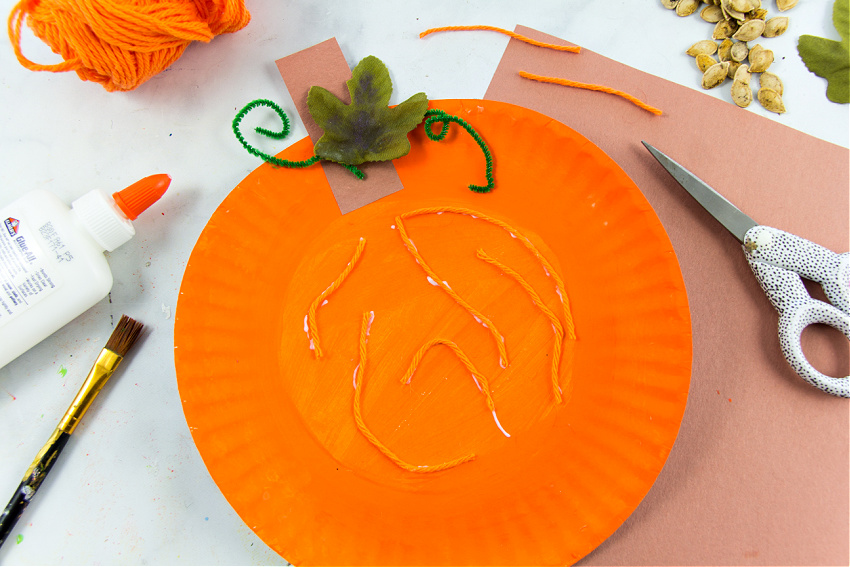
Cut a green pipe-cleaner and twist it to make the vine, gluing that over the stem.
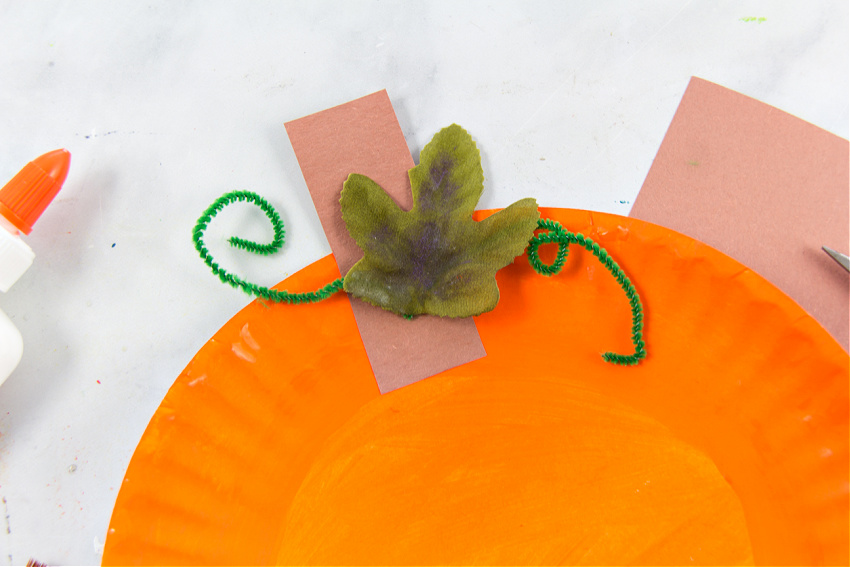
Step 4
Glue a leaf onto the top of your pumpkin. We used a leaf from a fake vine, but you could add a real leaf from outside, or cut out a paper leaf.
Step 5
Cut pieces of orange string and glue them around the middle of the paper plate for the fibrous strands.
Step 6
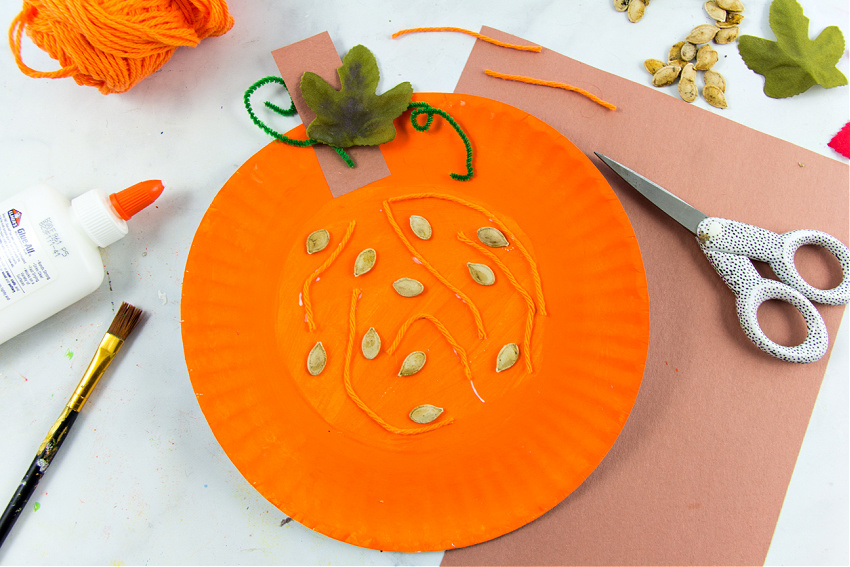
The final step is to glue pumpkin seeds onto the center of the paper plate pumpkin craft.
Please pin the post for later