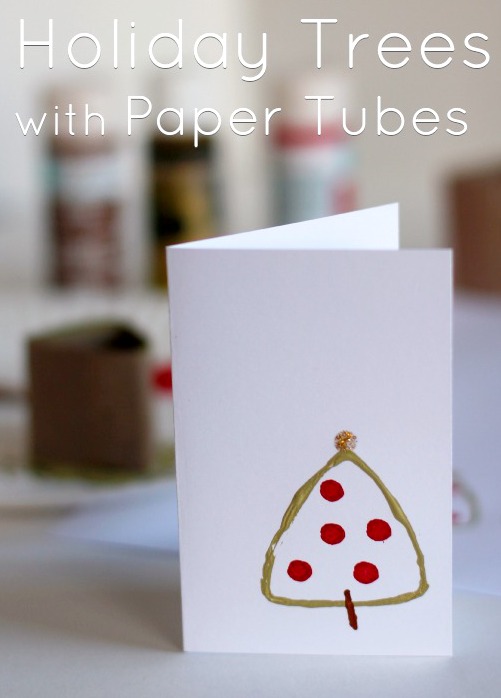
Stamp a few trees onto folded cards for a fun DIY gift to give to neighbors and friends this holiday season.
Stamping Holiday Trees with Paper Tubes
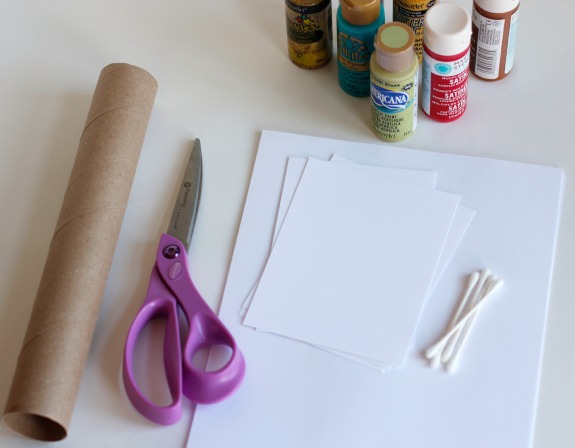
Supplies:
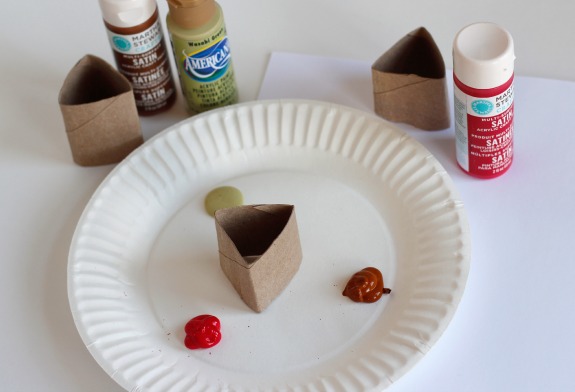
paper towel tube scissors paper plate paints paper Q-tips – optional
Instructions:
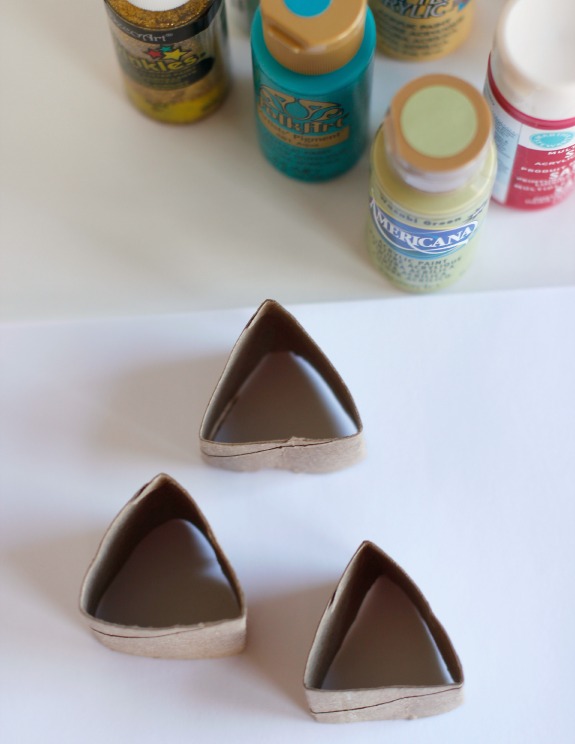
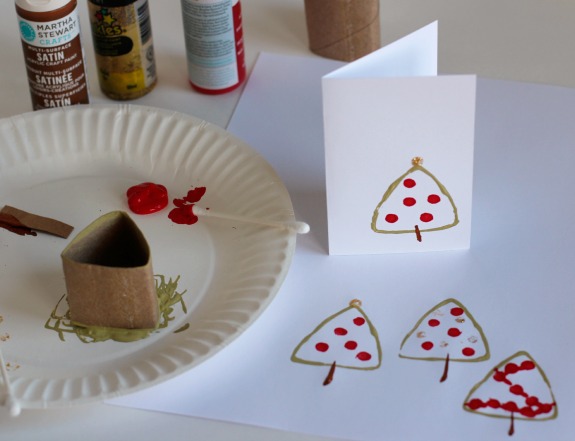
Using heavy duty scissors, for an adult only, cut your paper tube into 5-6 sections.
Form each of your cut pieces into a triangle shape. Press the crease of each edge really well to help get a very pointy triangle for stamping.
Add paint to your paper plate with the colors you want to use. You can really make any color trees you’d like.
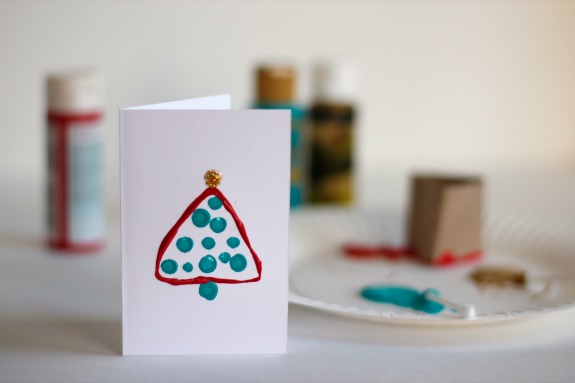
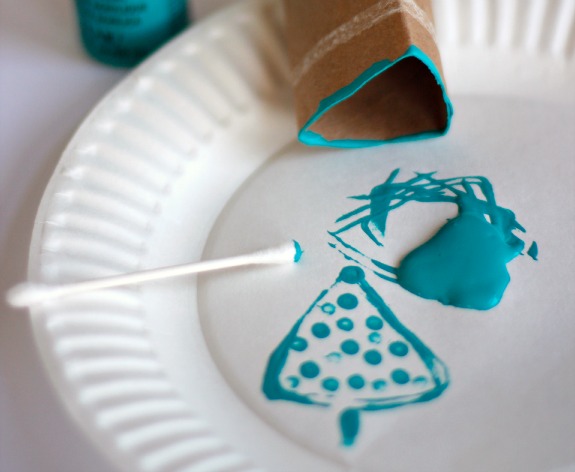
Dip your triangle shaped paper tube into the paint, making sure to get each side and corner with enough paint, and stamp it onto your paper. We also used a Q-tip to make small ornament shapes inside the tree.
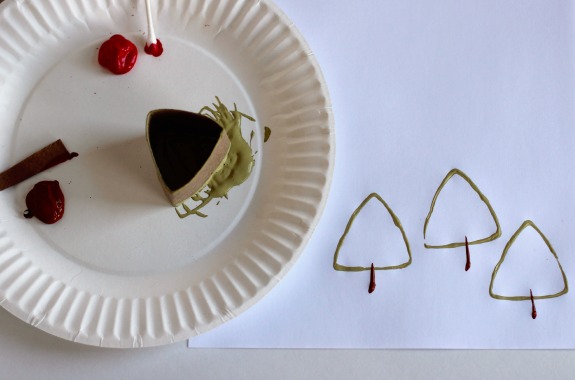
To make the trunk, you can use your Q-tip or you can cut a small piece of the paper tube off and dip it in paint, stamping it onto the bottom center of your tree.
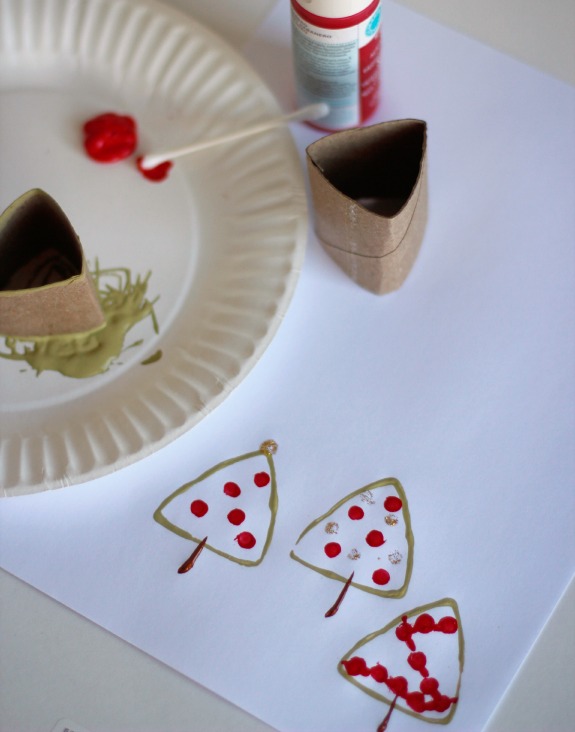
I actually like the plain green and brown trees pictured above. But you can also add your small circle ornament shapes with your Q-tips for ornaments or a gold glitter star at the top.
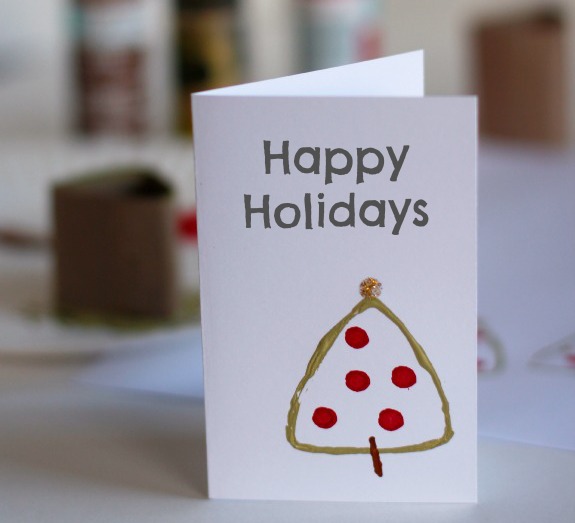
Once you’ve practiced your paper tube stamping, fold a heavy cardstock paper in half to create a card. Add your tree stamp to your card and let it dry over night.
Add some text to your card to send a Happy Holiday message to loved ones!
This is a fabulous activity for kids. My girls loved making Christmas tree scenes on their paper. **For extra protection when crafting with paint, dress your children in scrap clothes and cover your table with newspaper before setting up.
Have fun stamping holiday trees! *Originally posted 12/2/13