Rainstick supplies:
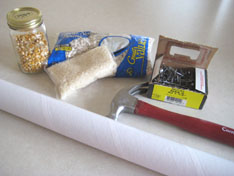
Hammer and 1&1/2 inch nails – for an adult to use cardboard tube – mine measures 2×18 & 2×30, I got them at the UPS store corn kernels, rice, dry beans Decorations: paint, crayons, stickers, paper & glue
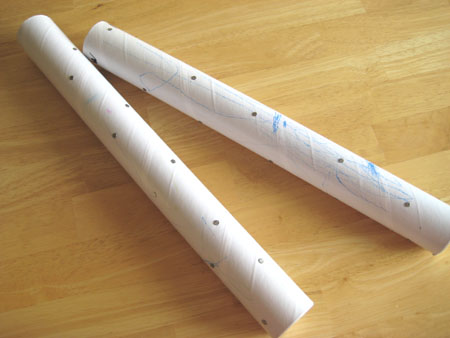
There are many ways to make a rainstick, as I list a few other ways below. I wanted my rainsticks to be a little more sturdy, so I went to my local UPS store and purchased a cardboard mailing tube for $3. It’s very sturdy and comes complete with top and bottom covers.
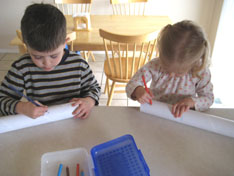
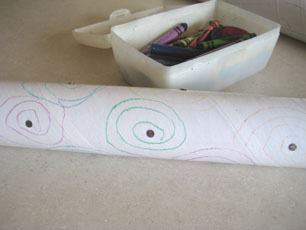
I hammered 30 nails into the long tube. They are spaced about an inch apart and scattered so the nails don’t run into each other. While I hammered nails into each tube, my kids were coloring them with fun lines and shapes. If you don’t want your nails to show or possibly scratch a surface, place stickers over them.
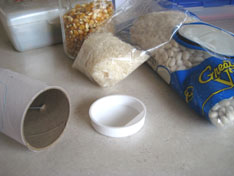
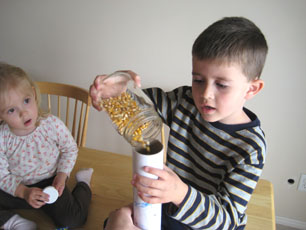
Then we poured in a mix of corn, rice, and beans. We put on the cap and gave it a test. Our sound wasn’t quite right, so we opened the cap and put in more of the mix. The cap is on pretty tight and hasn’t opened up yet. But if you want to make it more permanent you can glue it on. We are now enjoying the sound of rain inside the house as well as outside these days.
Here are a few other rumblin’ rainsticks:
Enchanted Learning – Paper towel holder and tinfoil Didgeridoo Store – Purchase a rainstick made from a cactus plant Tribal Rainstick Kit – A rainstick kit to buy and put together Turn and Tumble – A fun see-through plastic rainstick for toddlers