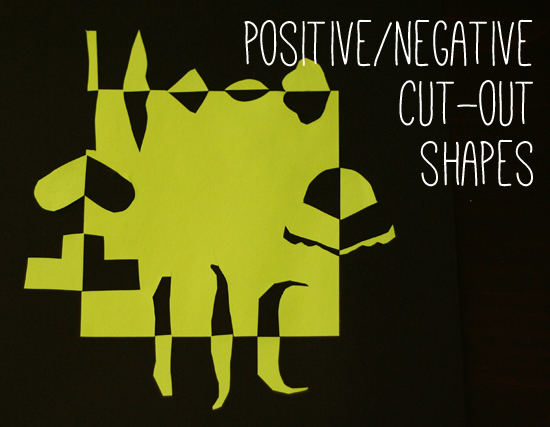
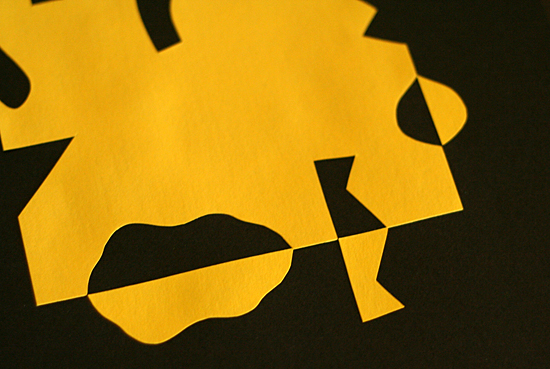
No fancy supplies needed for this project – just grab two contrasting colors of construction paper, scissors, and a glue stick. These cut-outs look especially striking with black paper for the background, so that’s what we used. Set your background paper aside, and cut a 5″ square from your other piece. Start cutting small shapes around the edges of your square. Save all your pieces! Start cutting simple shapes, like triangles, squares, and half circles. Also try zig-zags, abstract wavy shapes, half-hearts, arrows, or swirls. Anything goes!
We tried to keep our cut-outs on the small side, no more than 1-2″ into the square.
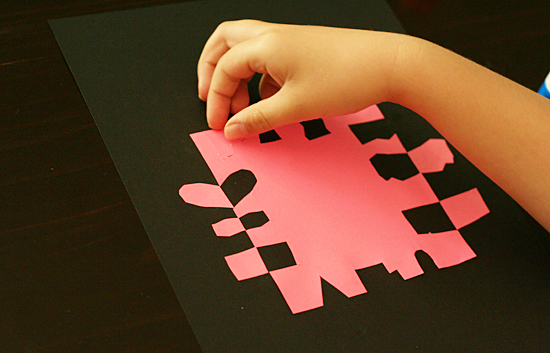
When you are done cutting shapes, glue the square to the background paper. Now, grab your pile of cut-out shapes and start matching them to their spots. Lay each shape in its spot, then flip it over and glue it down to the background.
Continue matching, flipping, and gluing all around your square. My girls were oohing and aahing over the symmetry effect as they worked.
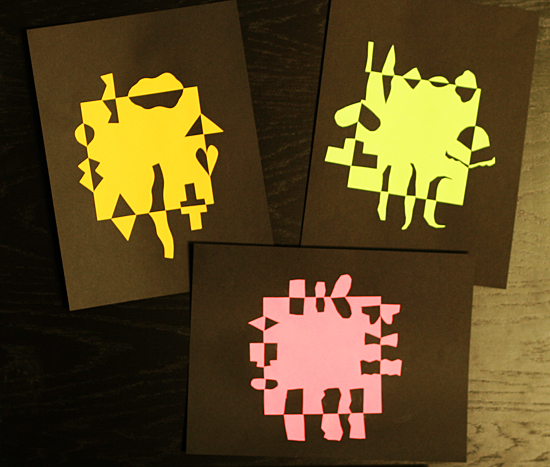
Here’s a look at our finished projects. Aren’t those fun?! Natalie thinks her green one looks like a two-faced monster.
If your kids enjoy this project, try again with a different shape – a triangle, circle, heart, or even a butterfly would look amazing! If you want to throw some fancy art language into your craft time, the shapes you cut out are the positive shapes, and the spaces they left behind are the negative shapes. Happy crafting!