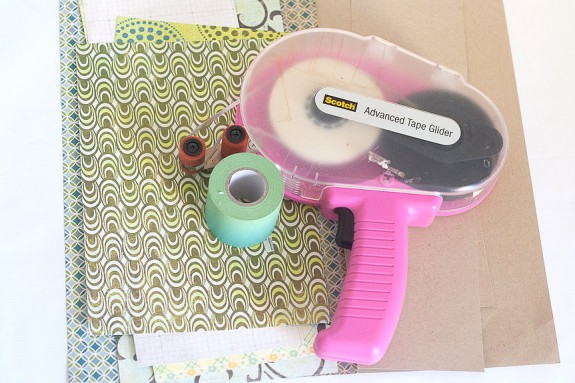
Supplies for Mini Paper Album:
1 12×12 sheet of kraft cardstock scrap pieces of kraft cardstock 12 scrap pieces of patterend paper (at least 4×6 in size) 2″ wide washi or decorative tape Your favourite adhesive Paper trimmer (not shown)
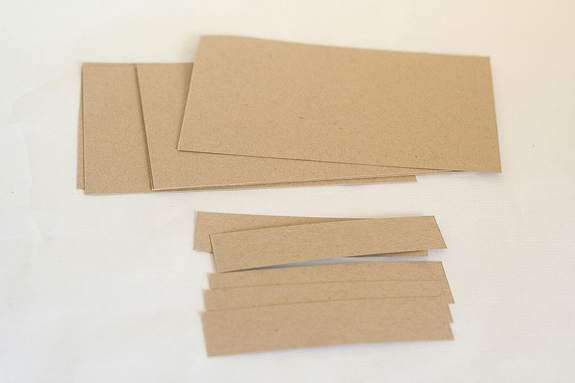
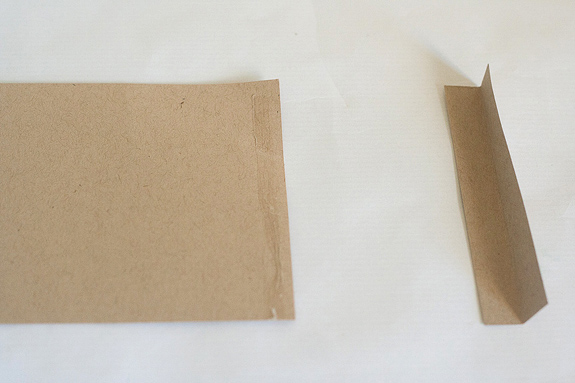
Step 1 Using the paper trimmer cut the 12×12 sheet into six 4″x6″ pieces, then cut five 4″x1″ strips from scrap cardstock
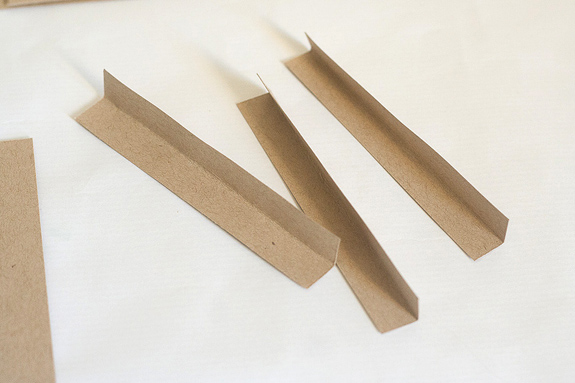
Step 2 Fold the 1″ strips in half lengthwise to make “hinges”
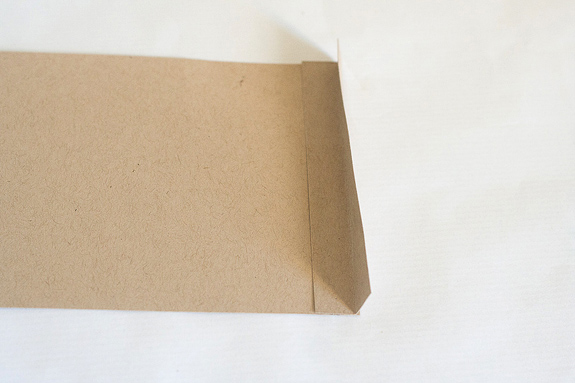
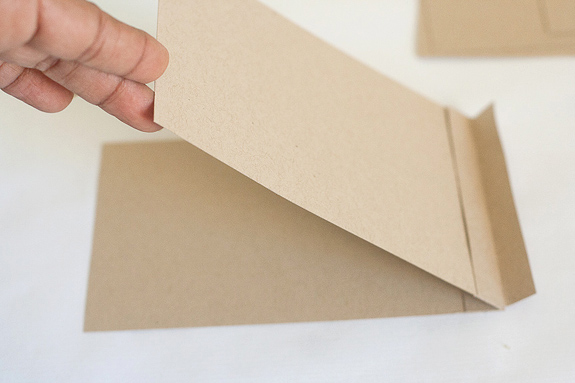
You’ll use these hinges to join the book’s pages together Step 3 Apply adhesive to the edge of one page
Add the “hinge”
Now apply adhesive to the top of the hinge
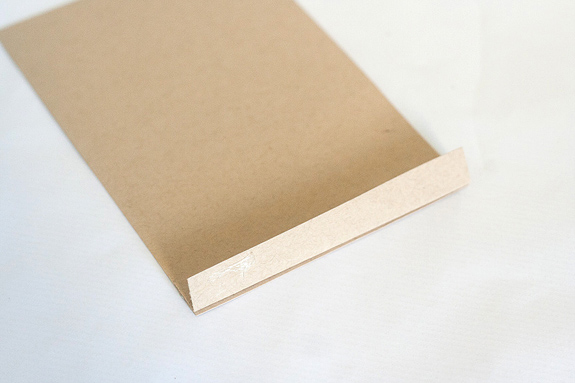
Then add another page on top
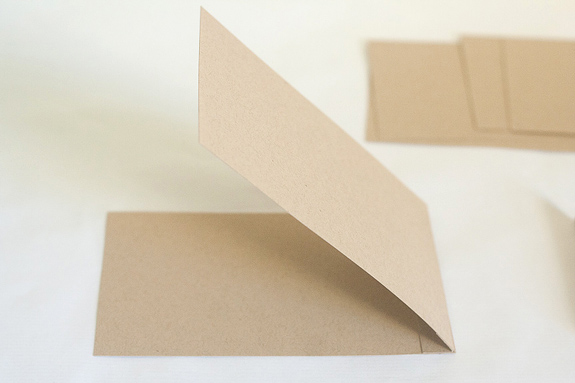
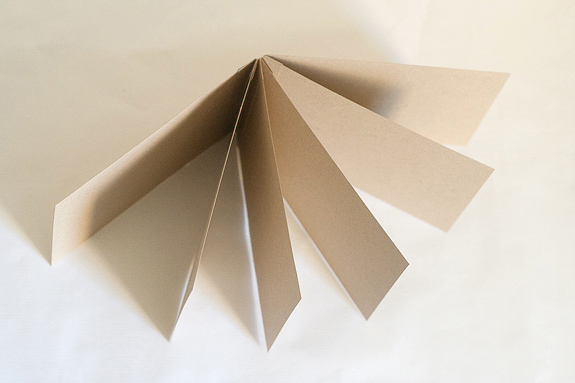
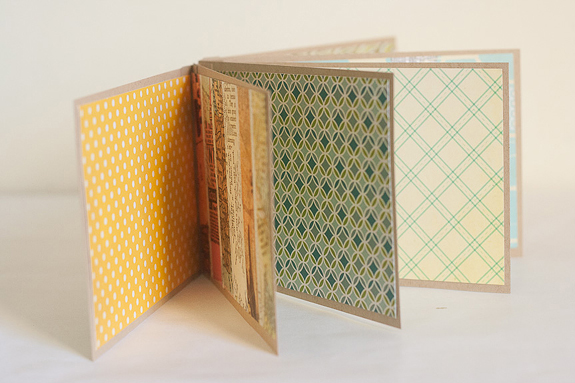
Continue in the way, adding hinges and pages until the book is constructed
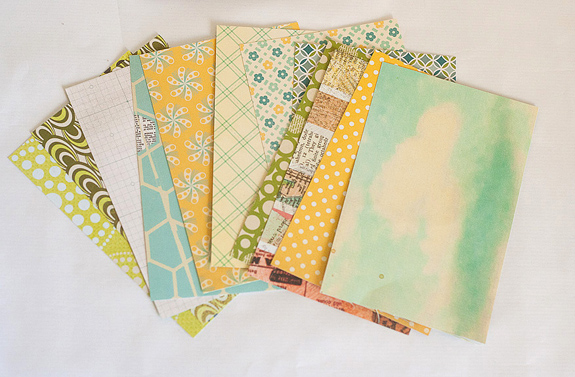
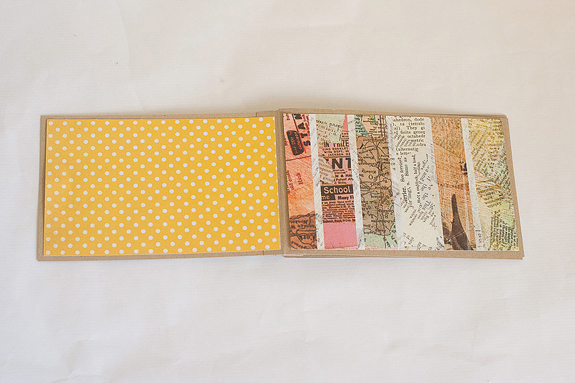
Step 4 Time to add some color and pattern! Cut 12 pieces of patterned paper measuring 3.75″ x 5.75″
Starting at the front of your book, “wallpaper” all the kraft pages with the patterned paper
Don’ t mind those fuzzy edges, I’ll be covering them up!
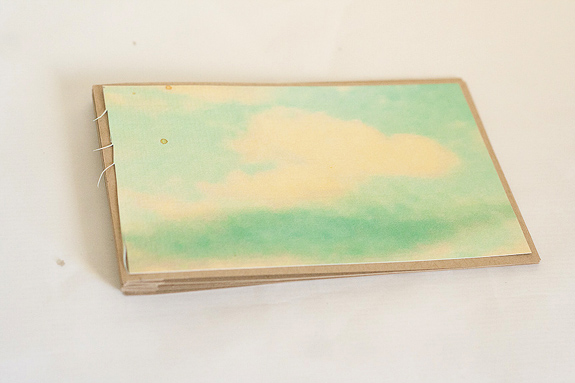
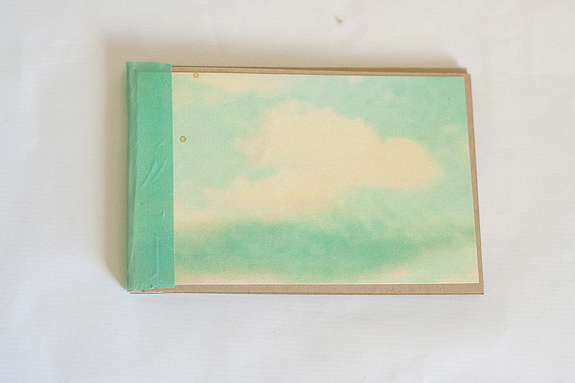
Step 5 Cut a 4″ piece of decorative or washi tape and use it to cover the binding
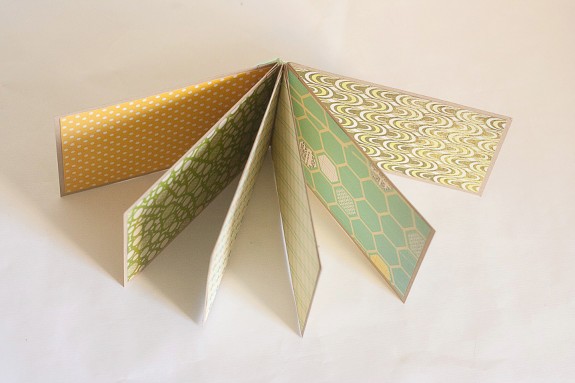
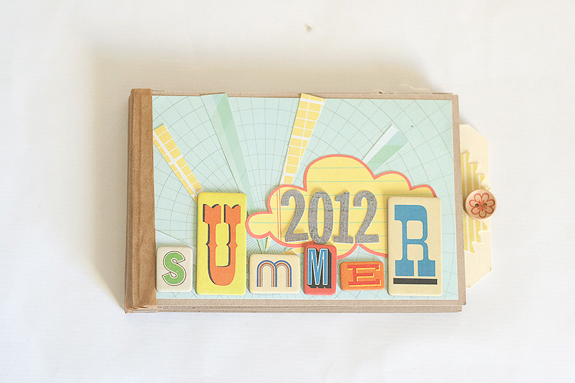
And there you have it! Now you can decorate the cover, and fill it with your photos and journaling. I used one of these books to document part of our 2012 Summer vacation
Other ideas:
You can make your book bigger by adding more pages. Instead of using it for photos, you can use it as a mini Smash Book You can use lined or grid paper instead of patterned paper, and make it into a notebook for jotting down lists or ideas I love kraft backgrounds, but you can also make it with white or colored cardstock instead.
What would you use a book like this for?