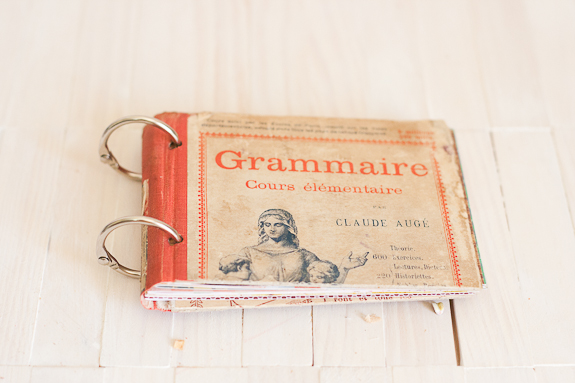
Supplies for Mini-Album:
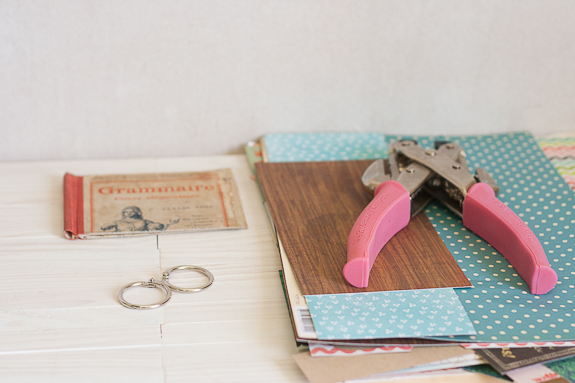
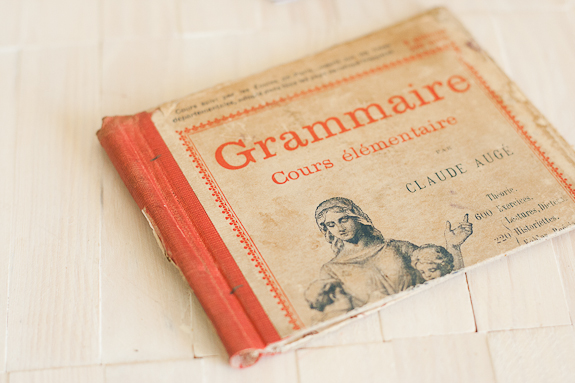
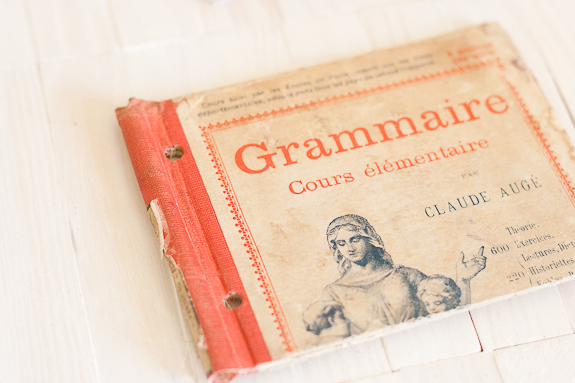
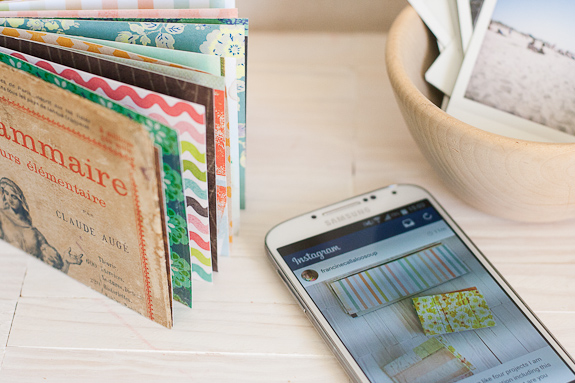
Vintage book cover with the pages removed Double-sided scrapbook paper (I grabbed a pile from my scrap box) Strong hole punch like a Crop-a-Dile Two binder rings
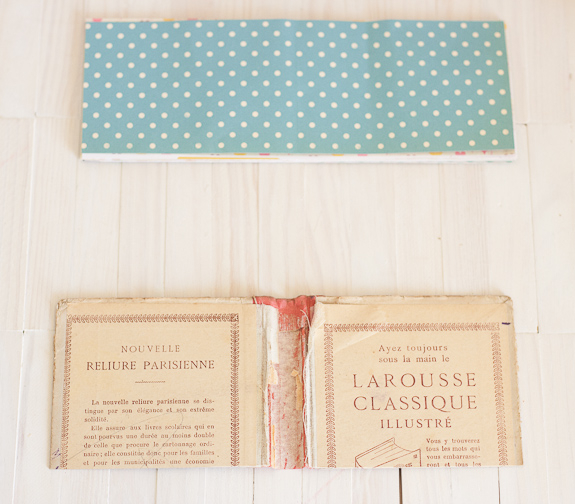
Instructions Lay your book cover open and measure width and height. Then cut 10 pieces of patterned paper that are half inch smaller in width, and a quarter inch smaller in height.
My cover is 9&1/2″ x 3&1/2″ so I cut my patterned paper 9″ x 3&1/4″. Now fold each piece of paper in half so that the short sides meet.
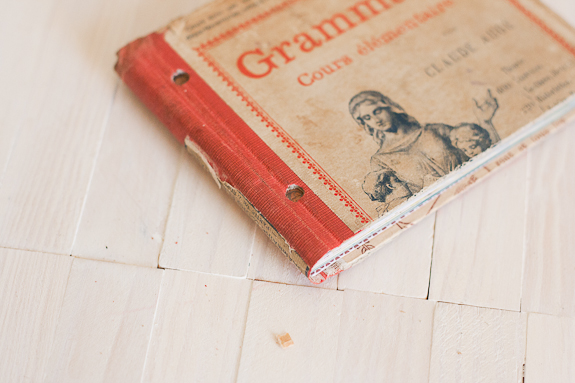
Close the book cover, and measure two points about 3/4″ from top and bottom, along the spine
Punch holes at these points
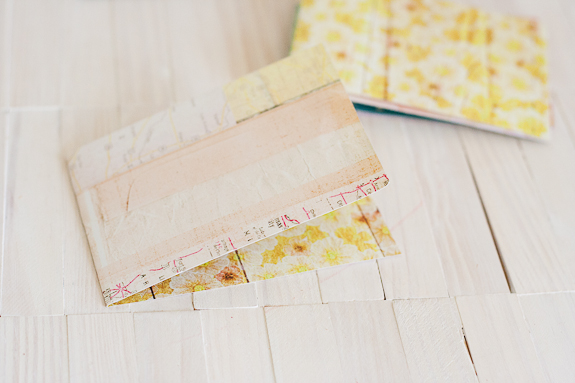
Stack the folded papers inside the book so that they just barely touch the binding, and make a mark where the holes are
Now remove the papers, and punch holes in the stack. You might have to divide the stack into two or three, if your hole punch isn’t strong enough to punch them all at once
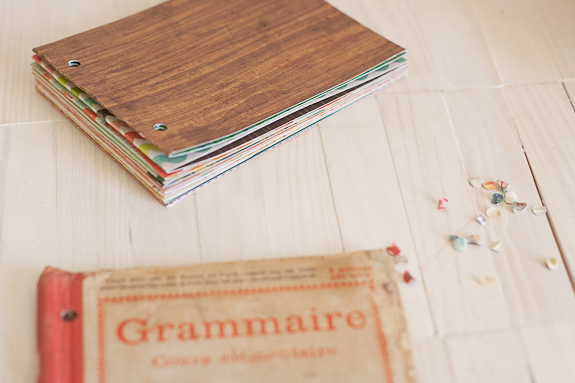
Replace pages between the cover and use binder rings to hold together.
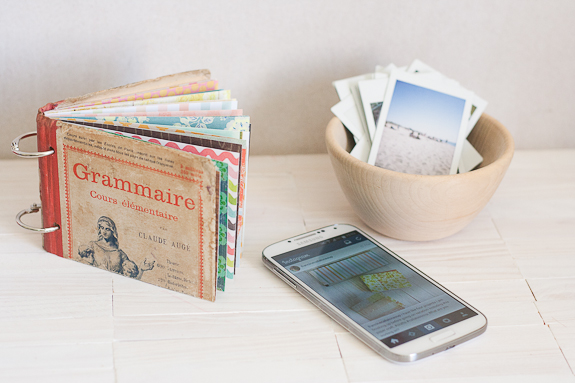
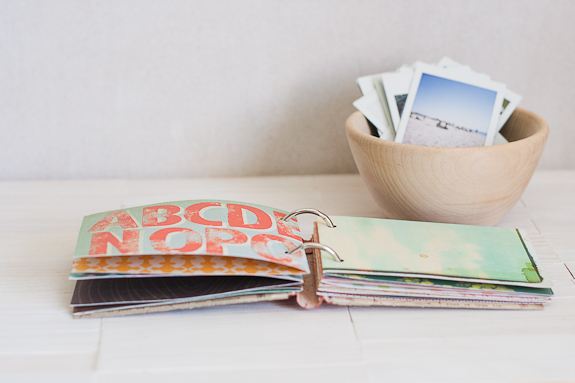
You can make these whatever size you desire. Mine is just perfect for small photos, like Instagram printed out at 2×2. Here’s what it looks like when open. I really like the look of the folded pages.
What will you use yours for?