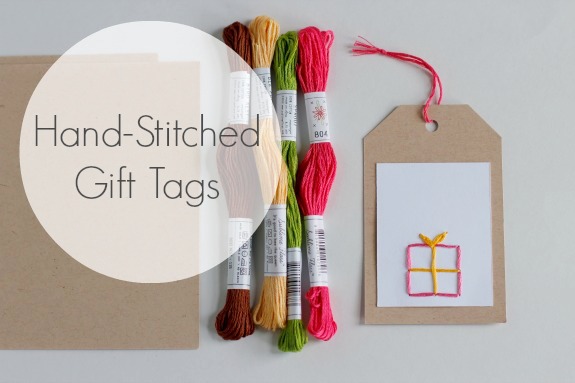
These simple, yet elegant gift tags, will give a little extra handmade love to your gift!
Supplies for Embroidery Gift Tags:
cardstock paper in 2 colors awl or push pin and cork trivet embroidery floss – I LOVE Sublime Stitching floss cross-stitch needle scissors glue hole punch
To Stitch the Design: (see our basic stitching instruction post for greeting cards)
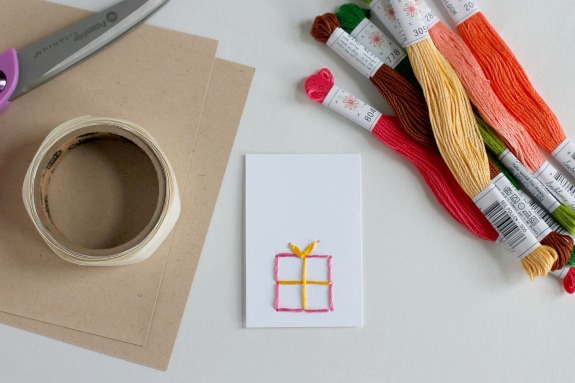
- Cut a small piece of cardstock into a 2×3 inch piece.
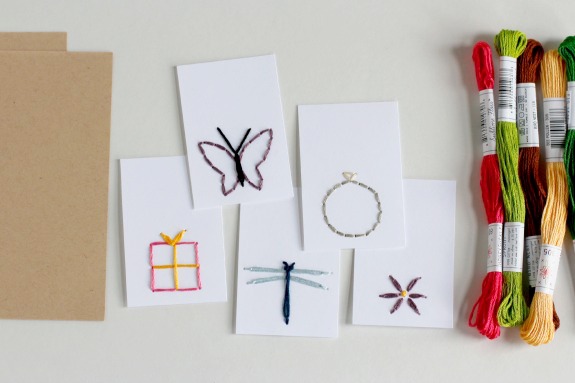
- Place your paper onto a cork trivet. Using your awl or push pin, punch holes into your paper into a design. You can free hand your design or print out a patterns. NOTE: for the gift tag, print out patterns 50-75% smaller.
gift box daisy wedding ring I don’t have the butterfly or dragon fly in printable form yet
- Add floss to your cross-stitch needle and start stitching through your cards, adding a knot to the bottom of the thread (it should catch on the back of the card).
- Stitch through each hole, change colors when necessary. Tie a knot at the end on the back when you’re done.
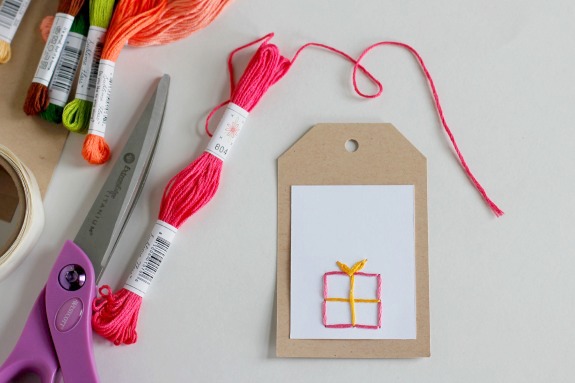
To Make the Gift Tag:
Place glue on the back of your stitched piece. I like glue dots or spray adhesive the best.
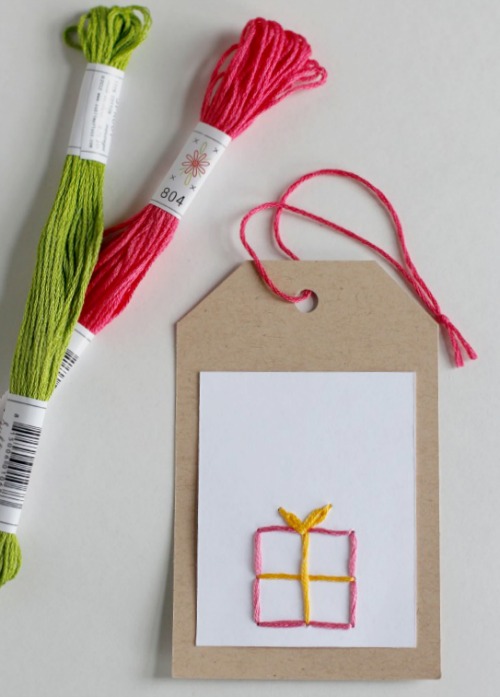
Add your stitched piece to a second color of cardstock paper cut into the shape of a gift tag.
Punch a hole at the top of your colored paper.
Add a little floss to the top punched hole at the top of the tag, secure with a knot, and it’s ready to add to a gift – the perfect handmade accent!
Happy gifting!