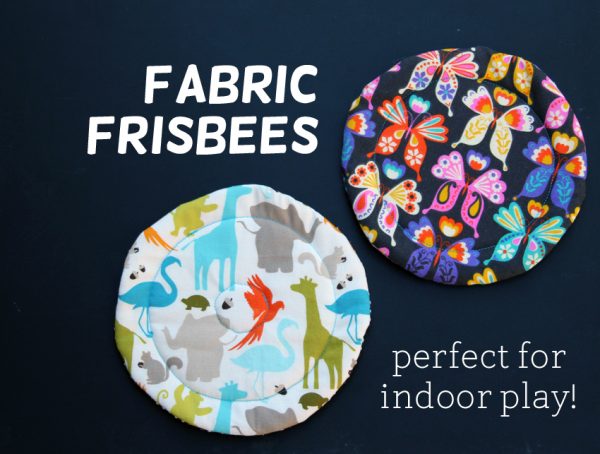
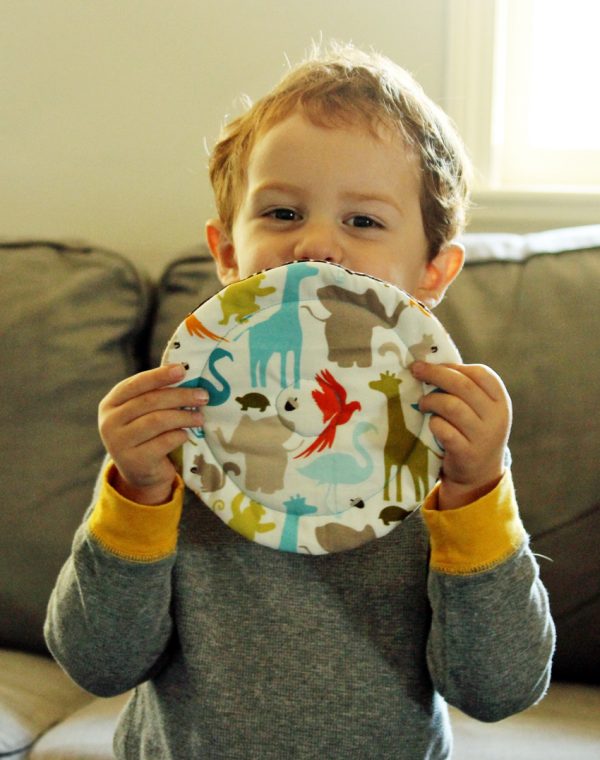
Fabric frisbees also make great party favors or stocking stuffers. One of my favorite parts of this project is personalizing it with fabrics that match each child’s favorite animal, color, interest, or character. If you are a beginning sewer, this is a fun project to practice on!
For each fabric frisbee, you will need:
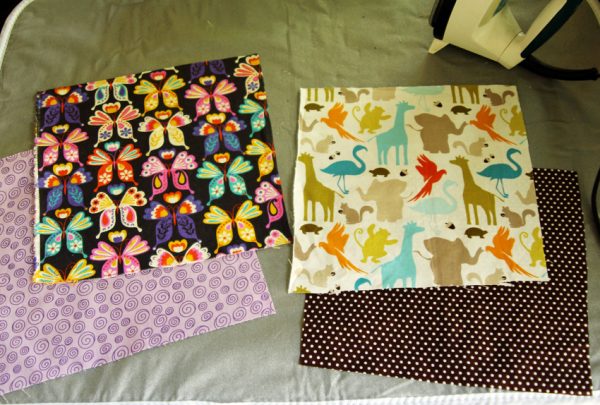
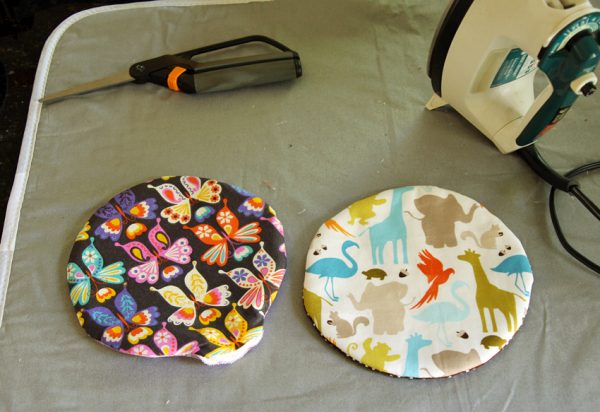
2 coordinating fabrics for the front and back (9-inch squares are plenty) Cotton batting – enough to cut 2 8-inch circles Matching thread
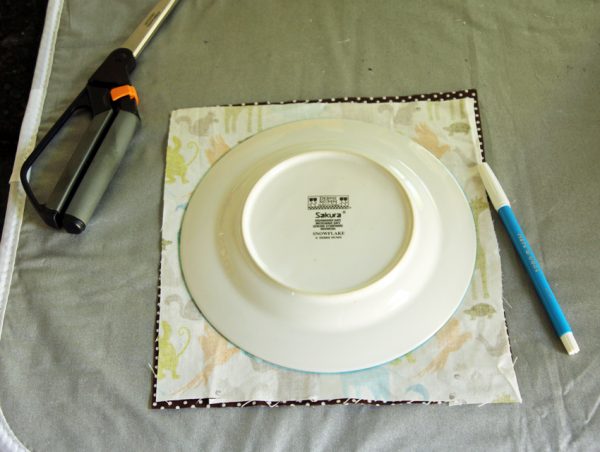
Place the two fabrics right sides together. Trace and cut 8-inch circles from the fabric pieces. I used a small plate as my template, and cut through both fabrics at once.
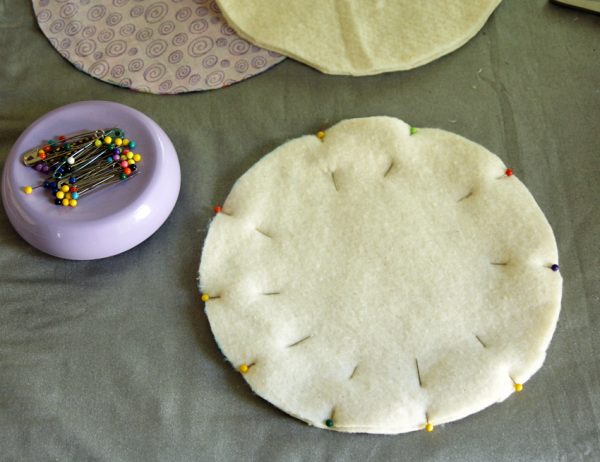
Cut two 8-inch circles of cotton batting. With the two fabrics still right-sides together, layer the batting on top and pin through all the layers.
Sew a 1/4-inch seam around the circle, leaving a 3-inch hole for turning. Turn the frisbee right side out and iron, tucking in the opening. Hand-stitch the hole closed.
Trace an inner circle on the frisbee, 4 or 5-inches in diameter. Top stitch with coordinating thread. This keeps the batting from shifting around. Sometimes I also sew a small (somewhat wonky) circle in the center, but that’s trickier and definitely optional!
That’s it! One fabric frisbee, ready for tossing about the house. Sometimes, we like to set-up targets to aim for, using laundry baskets, couch cushions, chairs, or pillows. These are so quick to make, it would be easy to make a whole pile for all the kiddos you know. If you have an older kid who is learning to sew, this is a great beginner project as well. It would make a wonderful handmade sibling gift for Christmas!