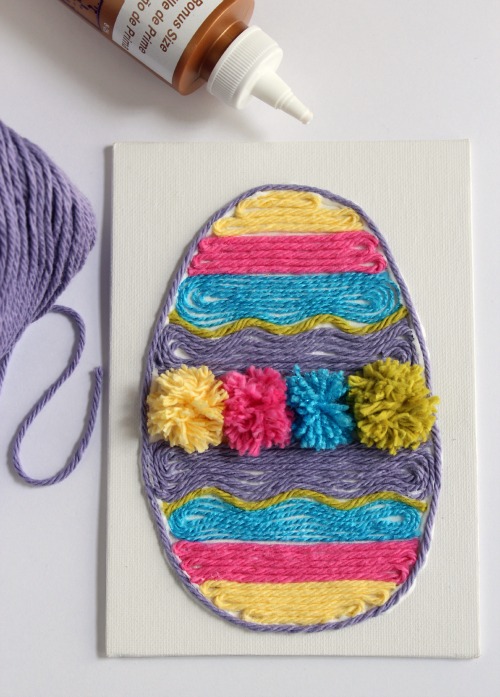
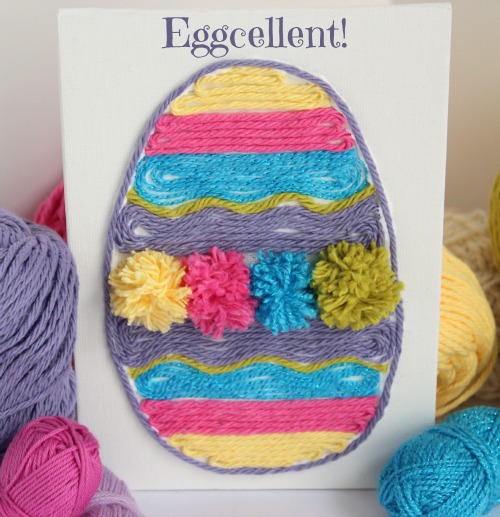
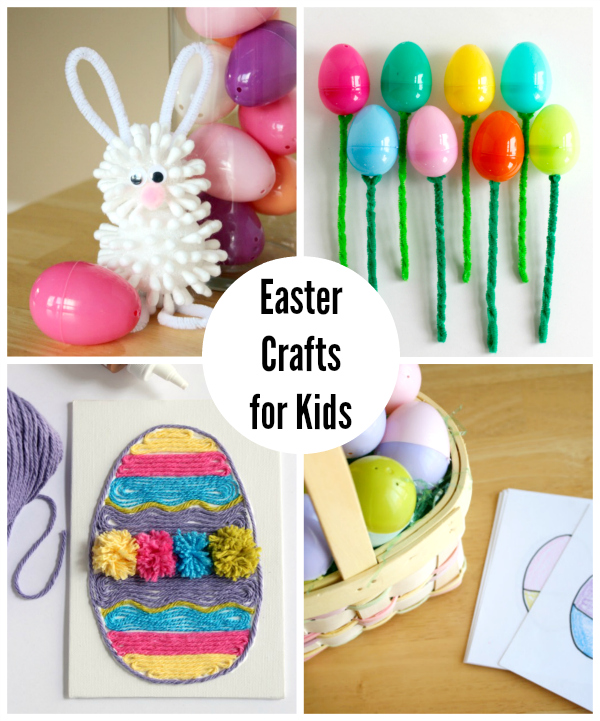
Easter Egg Yarn Art
Supplies for Easter Egg Yarn Art:
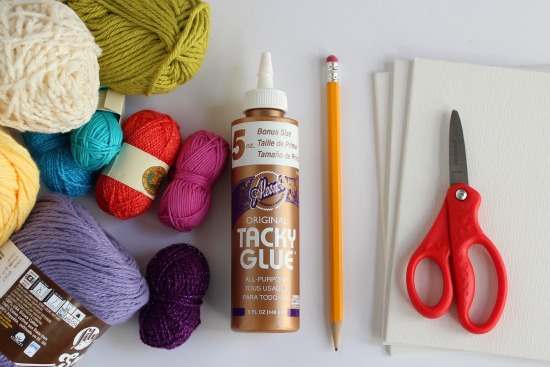
white canvas or heavy foam board – ours was 5×7 canvas yarn in all colors scissors pencil white craft glue – we love tacky glue
Instructions:
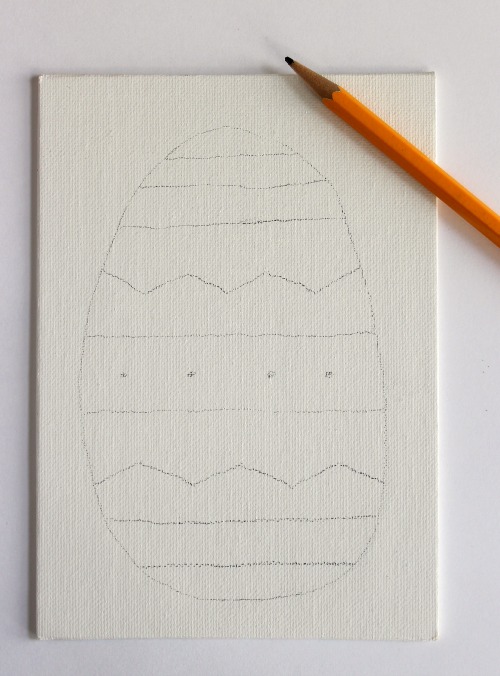
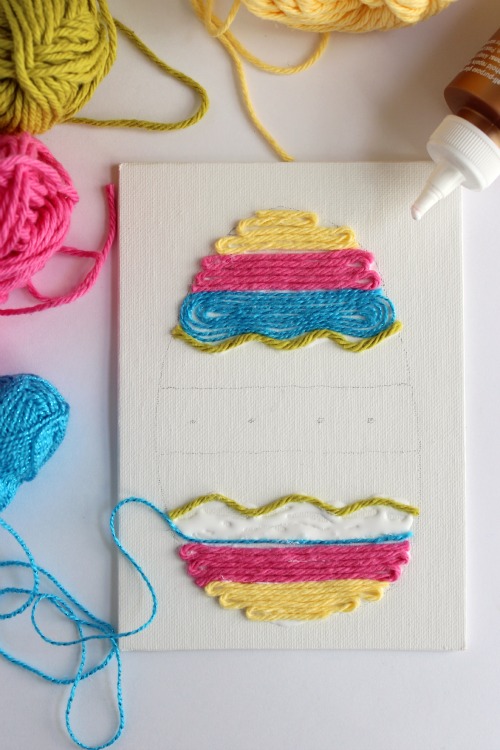
Start by using your pencil to draw the image of what you’d like to create. I drew my oval egg with all the fun lines and zig-zags inside of it.
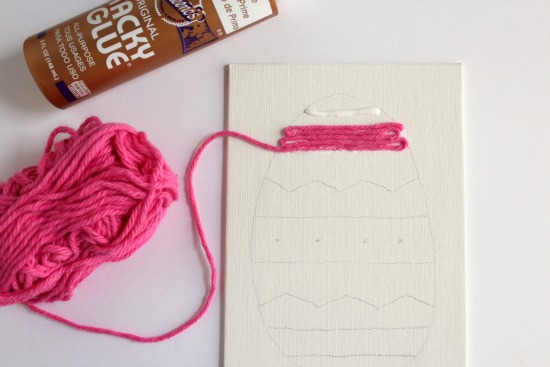
Add glue to one section of your drawing at a time. You don’t need to add the glue until you’re ready to cover it. I do this in sections to minimize the mess and the glue drying too soon.
Add more and more yarn to your glue. You can add each piece in an outline shape or fill your section all the way in with yarn. There are a lot of ways to add your yarn.
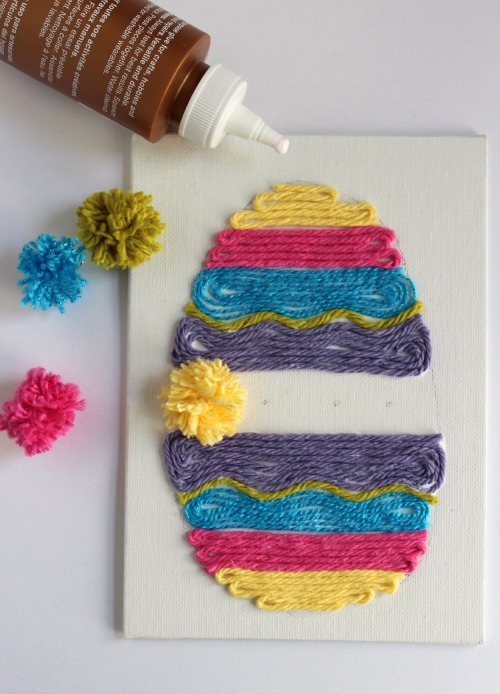
I also made a few small yarn pom-poms to place in the center of my egg. They are simple to make. Follow this Yarn Pom-Pom tutorial.
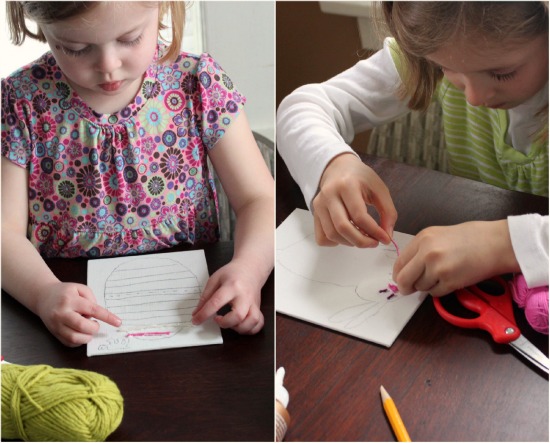
You can also do different shapes. My daughter is creating a bunny below!
Let this dry overnight to make sure it’s all stuck in place.
Want more kids crafts to make for Easter? Here are 3 more creative ways to celebrate!
Q-tip Easter Bunny Easter Egg Flower Bouquet Mix and Match Egg Hunt