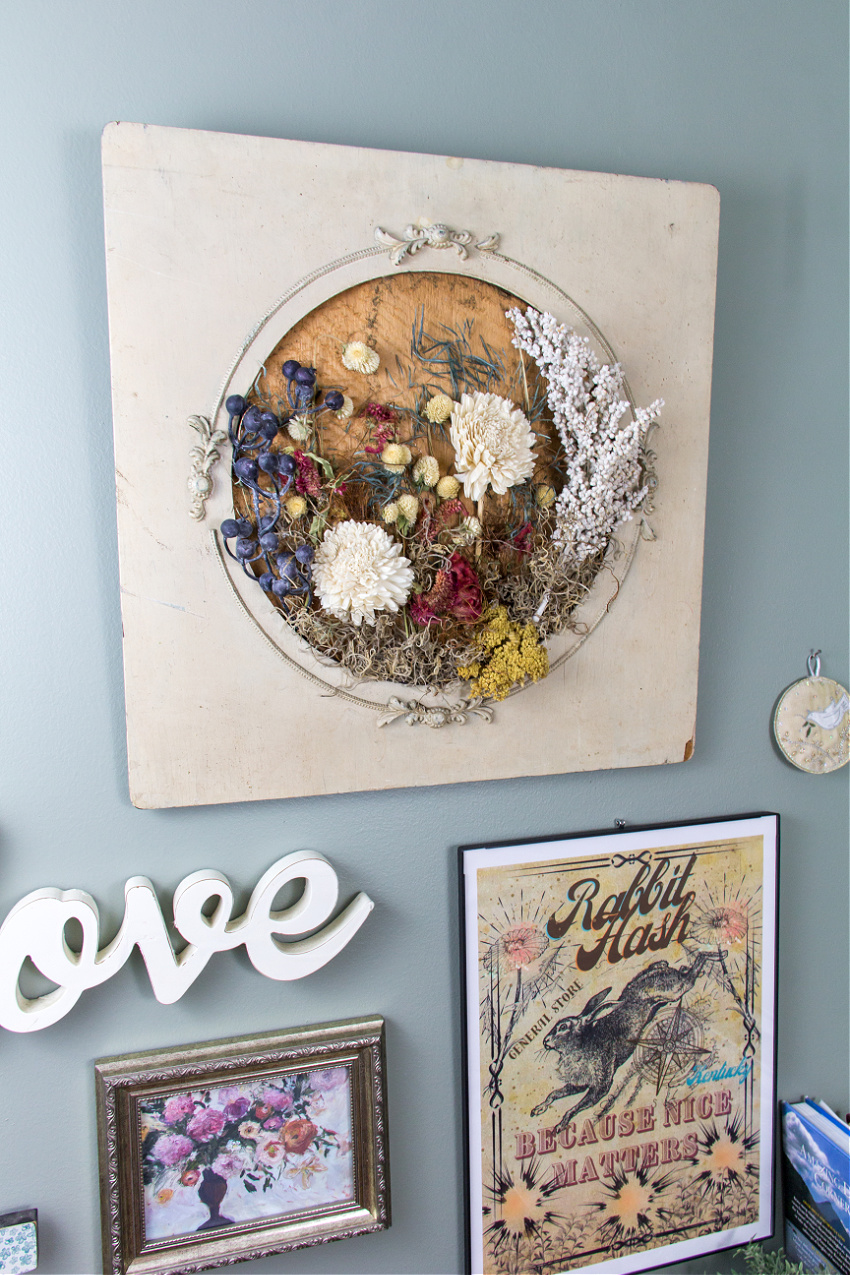
DIY dried flower wall art
Follow along as I show you how to make dried flower wall art to display your memories or favorite dried flowers. I used a combination of dried flowers and pieces I pulled out of a faux dried flower arrangement that I recently picked up at an antique store. The frame that I used I found for $20 at a pop-up antique sale almost a year ago, and I am thrilled I finally thought of a great way to use it.
What you need
Dried flowers Moss (I used Spanish moss) Frame Optional – faux dried flowers, natural elements Hot glue
Instructions
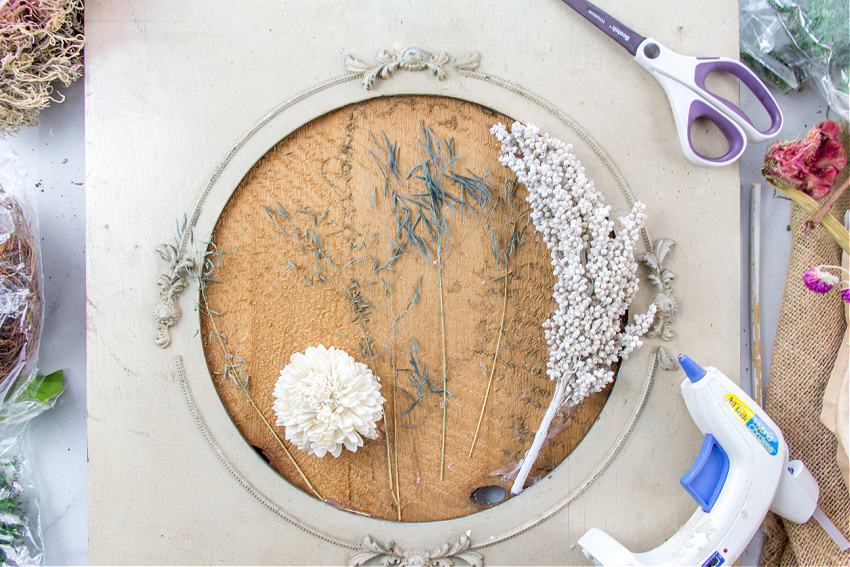
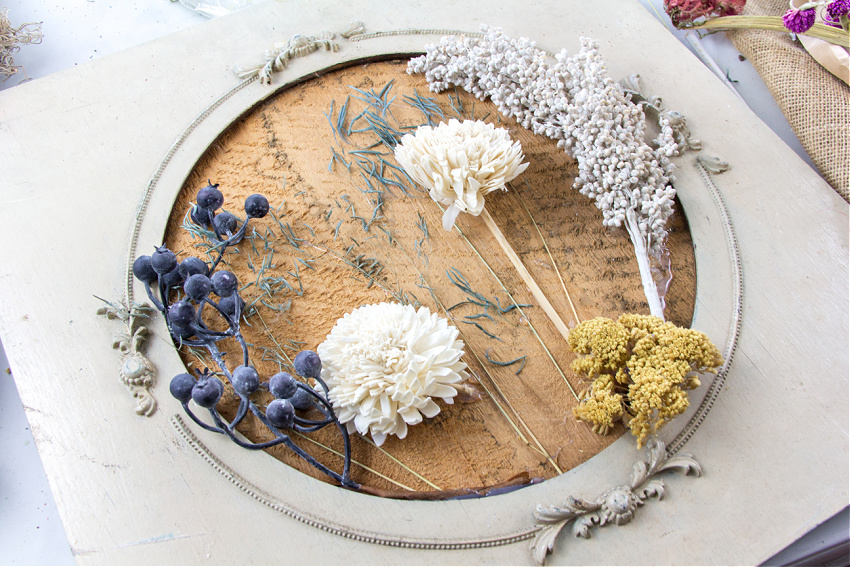
The first step is to lay out the main pieces you want to use, exactly where you want them to go. Don’t glue anything into place until you have a good idea of how you want the final wall art to look. I chose to add larger items to the sides to frame the display, then chose smaller pieces that would make a good backdrop.
Glue the primary pieces down once you are happy with their placement. Gradually add more layers and more color, but remember to only glue once you are completely happy.
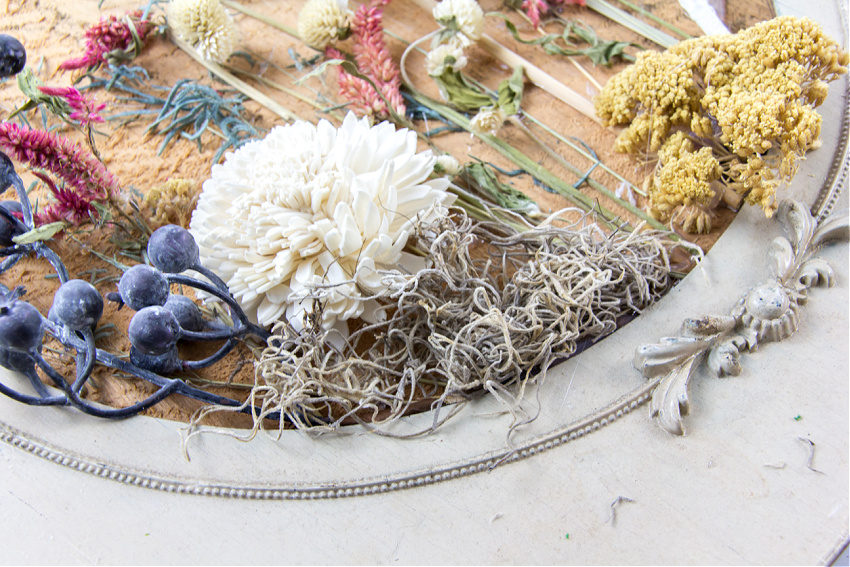
The final step is to add moss throughout the stems. This hides the glue as well as fills in gaps.
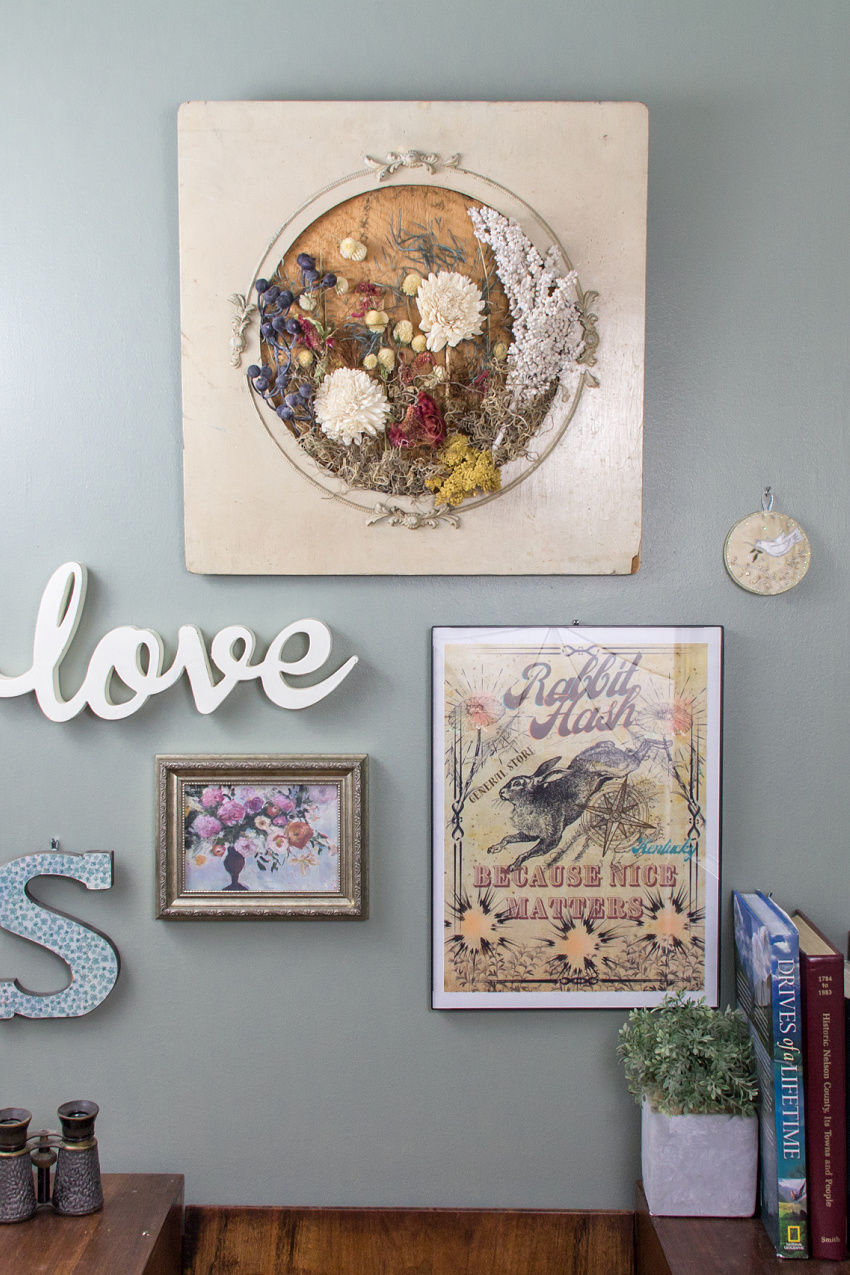
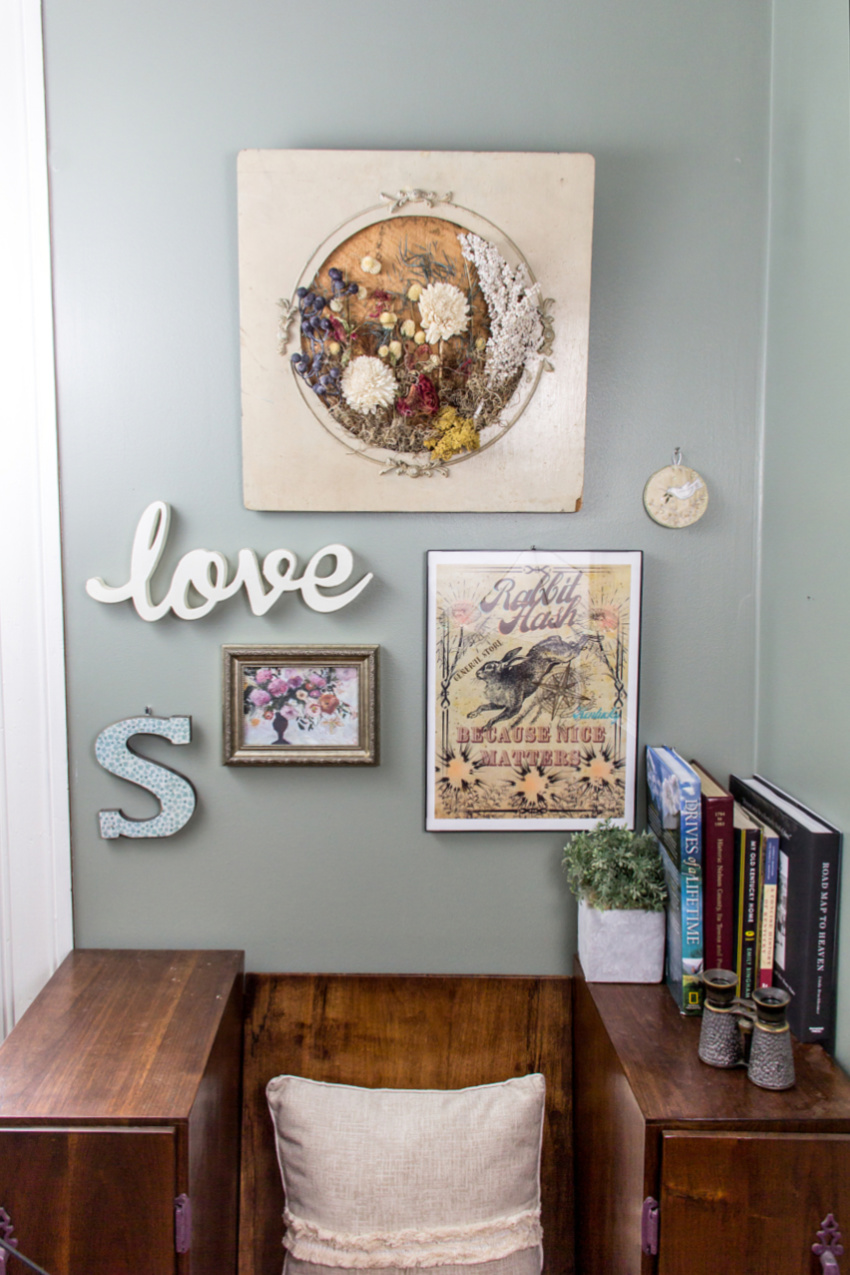
All you need now is the perfect spot to hang your dried flower wall art in your home. I put together this nook upstairs by a window that is across from our guest bedroom.
Please pin this post for later