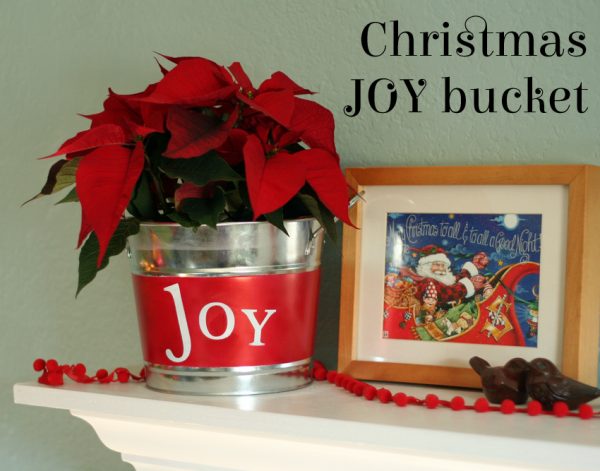
With just an airbrush machine, a humble metal bucket, and some letter stickers, you can create a painted holiday bucket, perfect for holding a poinsettia, storing Christmas cards, or filling with goodies for the neighbors! We’re partnering with Testors® Aztek® airbrush machines to make our Christmas Joy Bucket (and some fancy striped burlap ribbon, too!).
Supplies:
Metal bucket (check your craft store for a variety of shapes & sizes) Fine grit sandpaper Masking tape Letter stickers (removable) Burlap ribbon Testors® Aztek® Airbrush Testors® Aztek® Blue Mini Compressor Testors® Aztek® Airbrushable acrylic paints (we used opaque white, metallic red, and metallic gold)
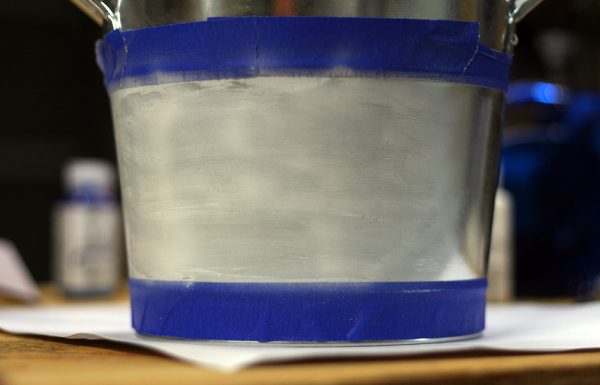
Using masking tape or painter’s tape, tape-off the area of the bucket that you want to paint. I planned to do a large stripe around the middle of the bucket. To help the paint adhere, rough up the surface of the bucket (just a little) with fine grit sandpaper or steel wool. Decide approximately where you will place your word and airbrush that area with white opaque paint. If you try to apply a thick layer of paint, it will run a bit. Multiple thin layers work great!
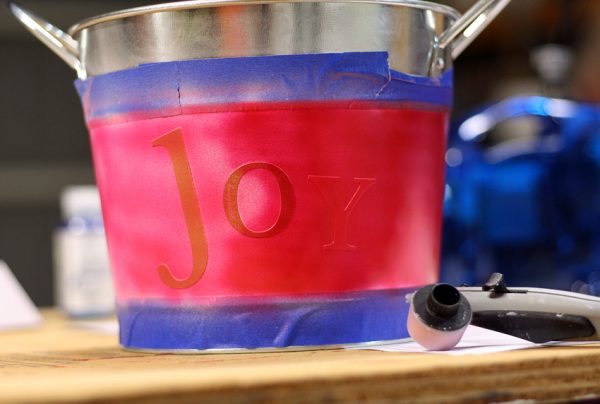
Apply two or three thin coats of white paint, allowing the paint to dry in between coats. Let the paint dry well before adding the letter stickers. Arrange and apply the letter stickers, smoothing them down well so the paint doesn’t seep underneath. I used mismatched scrapbooking letter stickers, but removable vinyl letters would work, too. I chose to decorate my bucket with the word Joy, but, of course, you can choose any word or design you like! Airbrush the bucket with red metallic paint, again applying multiple thin coats. Here you can see one coat of paint on the left, and two coats on the right.
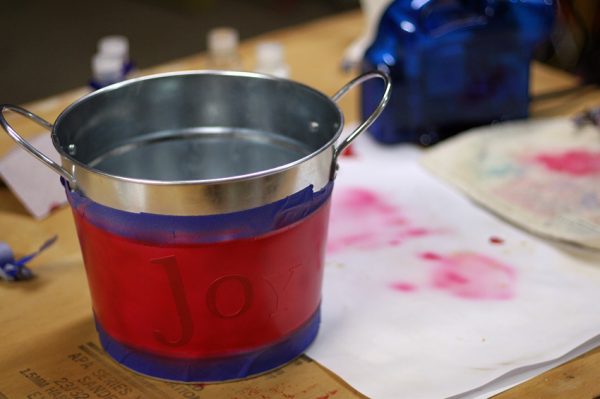
I did three coats of the red paint for a beautiful shiny finish. The pearl-finish metallic airbrush paints have a beautiful shimmer, which pairs perfectly with the shiny metal bucket. The thin coats of airbrushed paint dry quickly, so it doesn’t take long to paint the entire bucket. Set aside to dry well before carefully removing the stickers and tape.
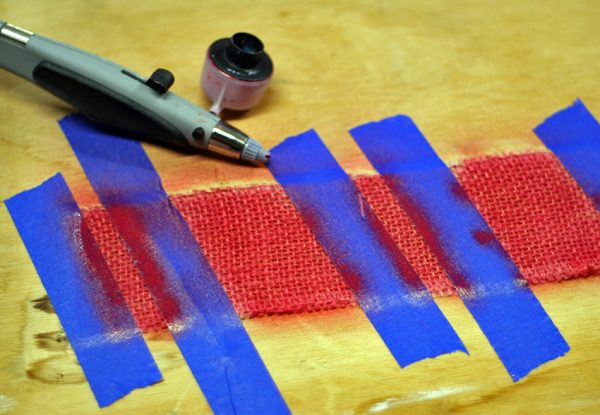
While my bucket was drying, I decided to try airbrushing some inexpensive burlap ribbon to make a bow. I taped-off big and little stripes with masking tape, kind of like a candy cane. I painted the ribbon with one coat of red pearl paint and one coat of gold pearl paint, for extra shimmer.
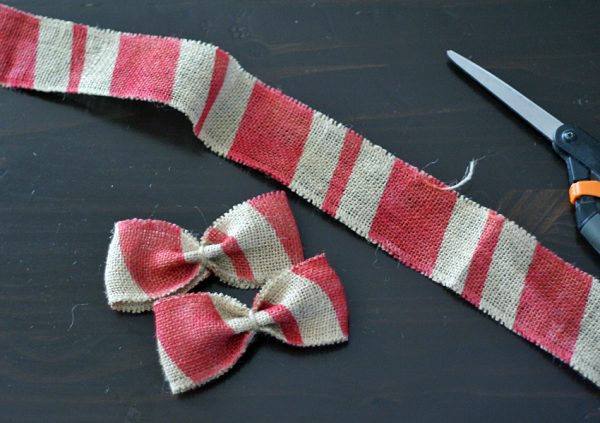
Let the paint dry, then peel off the tape. In less than 10 minutes, I made beautiful custom burlap ribbon! I made a simple bow to attach to the painted bucket. There are tons of burlap bow tutorials around – I used this one.
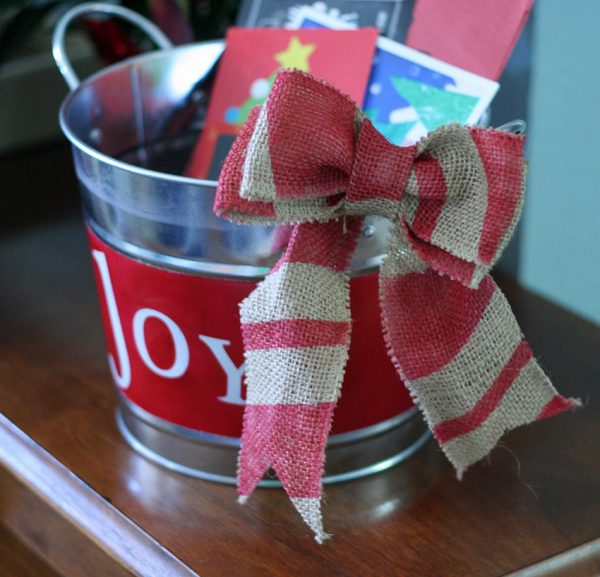
Use a small piece of florist wire to attach the burlap bow to the bucket handle. You could even use a dab of hot glue, if you’d rather. So cute!
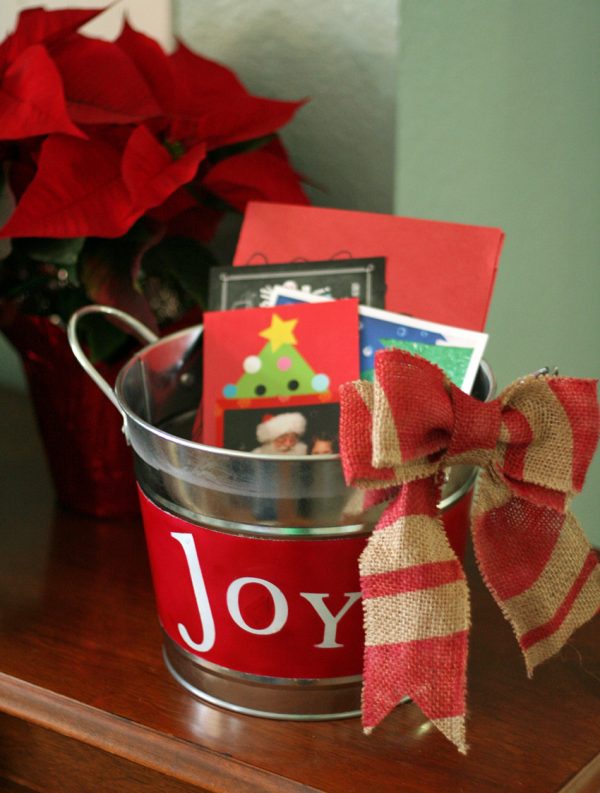
I initially planned to use this bucket as a poinsettia pot on my mantle, which looks adorable. It would also be a fun place to collect Christmas cards and photos throughout the month. I might have to make two buckets so I can use them for both things!
**Thanks to Testors for sponsoring this post. Be sure to visit them on facebook, pinterest, twitter and YouTube for more inspiration. Testors products are available nationwide at all Michael’s Craft Stores as well!