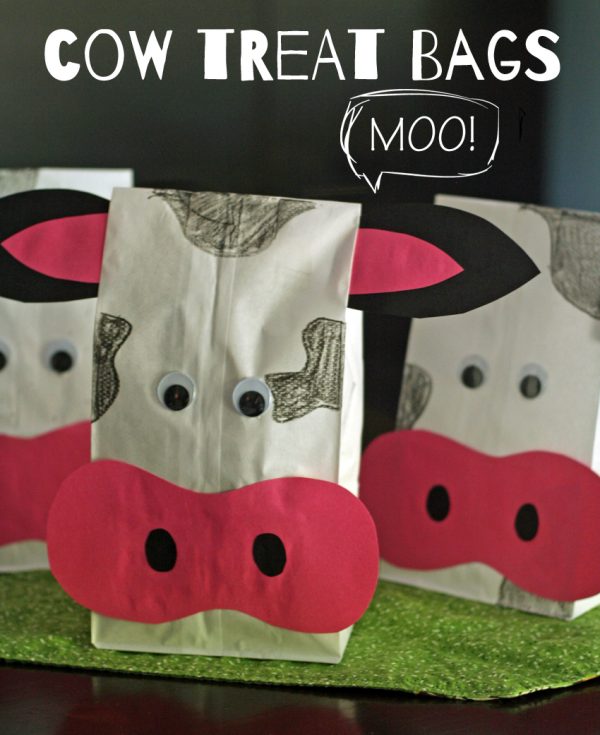
Supplies for Cow Treat Bags:
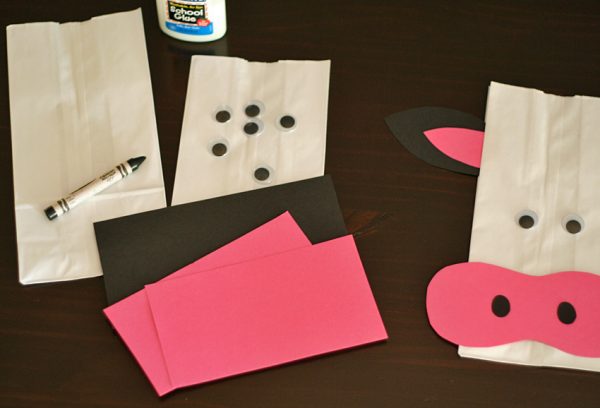
white paper lunch bags construction paper – pink and black jumbo googly eyes black crayon or marker glue scissors
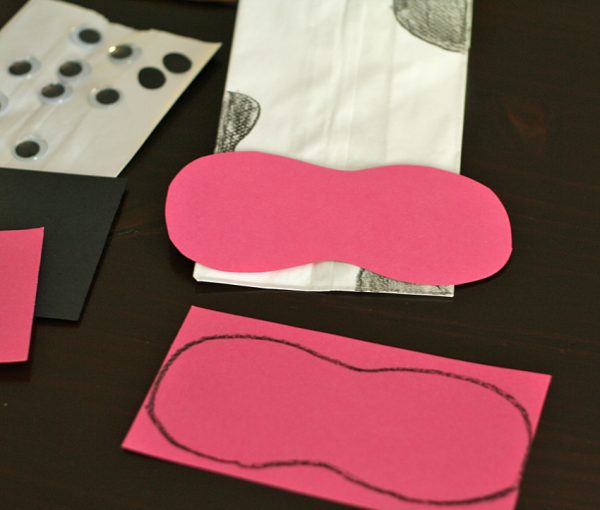
Fold down the top of the lunch bag an inch or two, so you can close the bag later. With a black crayon or marker, draw and color some black patches on the front and back of the lunch bag. My toddler had a great time banging his crayon and covering a bag with “polky-dots” along with me. Draw a snout on pink paper and cut it out. I just free-handed the snout shape, so each of my cows is perfectly unique! Glue to the bottom of the lunch bag.
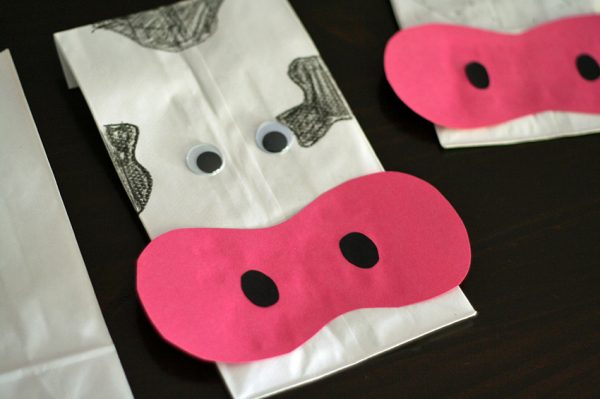
For the nostrils, cut and glue black paper ovals, or draw on with a marker. Then, glue the googly eyes, about halfway down the bag. Set aside to dry.
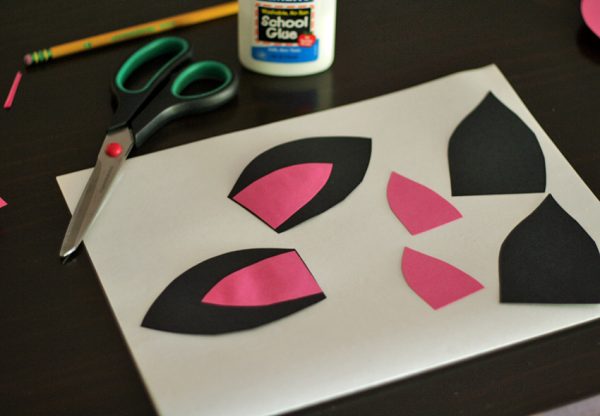
While the eyes are drying, work on the cow’s ears. You’ll need two black ears and two pink inner ears. Again, I free-handed these shapes, cutting two ears at a time so they would match. Glue the pink shapes to the black ears.
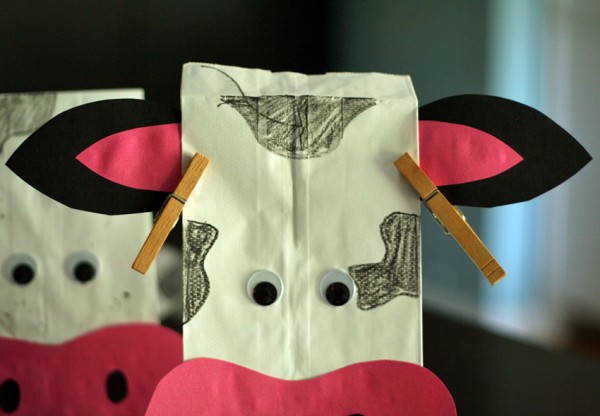
I found it easier to attach the ears with the lunch sack opened. Put a small bead of glue along the bottom front of each ear and attach to the bag, just behind the side fold, and below the top fold you made earlier. Use clothespins to hold the ears in place while they dry.
Once your cows are dry, they are ready to be filled with party treats! I might tuck some Annie’s farm animal cookies, a sheet of cow stickers, an organic boxed milk, and a plastic farm animal inside. You could make cow treat bags as a party activity, too. Just pre-cut the shapes, or have templates for tracing, depending on the age of the kids. These cows would make adorable party decorations, too. Just stuff with crumpled newspaper, then staple or tape the bag closed. I’ll be making a whole herd of cows for our little guy’s party!