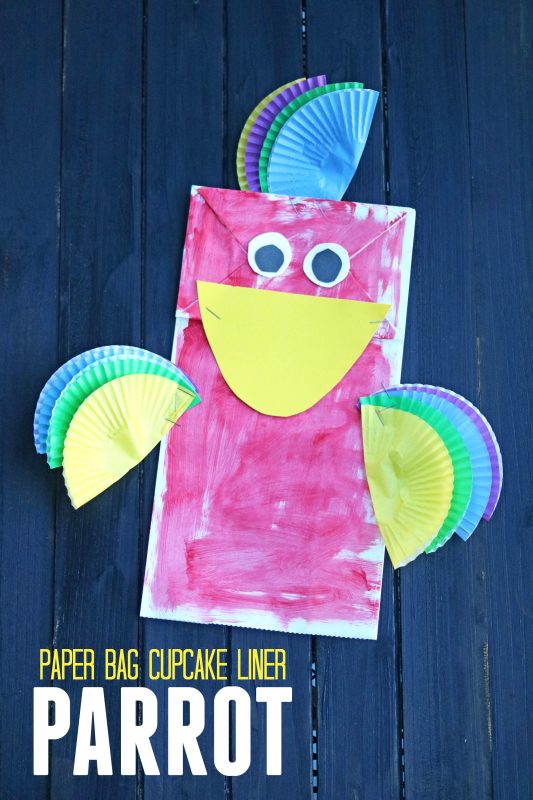
We’re partnering with Lionsgate in celebration of this movie and today I’m sharing an adorable Paper Bag Cupcake Liner Parrot kid craft idea! Not only is it super simple and really inexpensive, but it’s the perfect DIY craft activity to make with the kids to celebrate the upcoming movie release! Display your finished piece as is or use it for a fun pretend play! Let’s flap our feathers together, gather our craft supplies, and make a one-of-a-kind piece today!
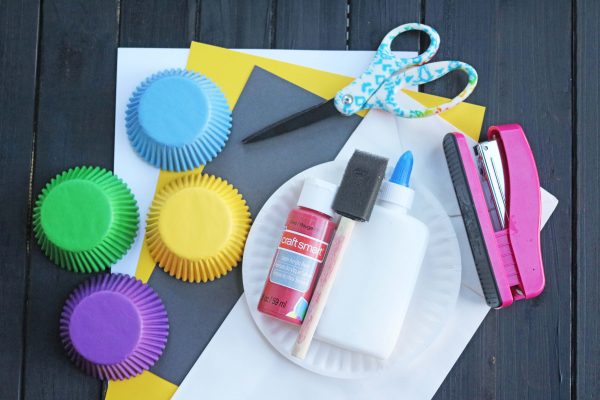
Supplies:
Paper Bag Red Craft Paint Paint Brush Paper Plate Scissors Yellow/Black/White Cardstock Colorful Cupcake Liners Glue Stapler optional – glitter glue, rhinestones, feathers
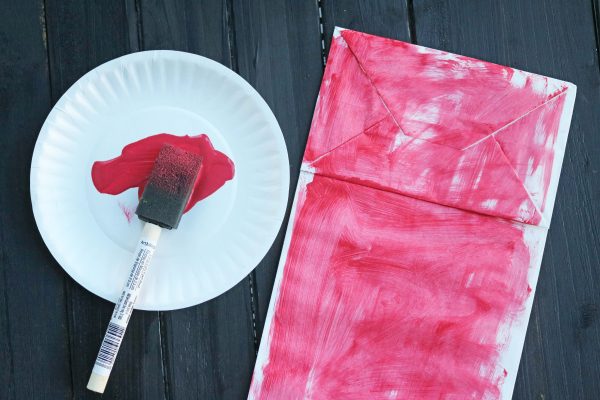
First squirt some red paint on a paper plate. Have children paint their paper bag completely red. This will be the body of their parrot. Set aside to let it dry completely.
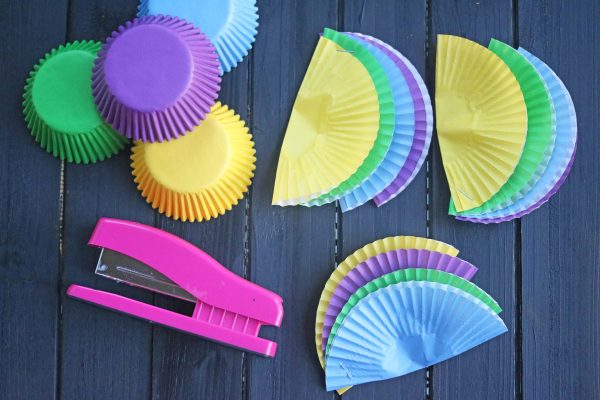
While that is drying, have children pick out and flatten/fold in half 12 cupcake liners. Once done, go ahead and divide them into three piles. Now staple each set together to look like feathers. Two of your sets will be the wings of the parrot, while the last set will be placed on the parrot’s head.
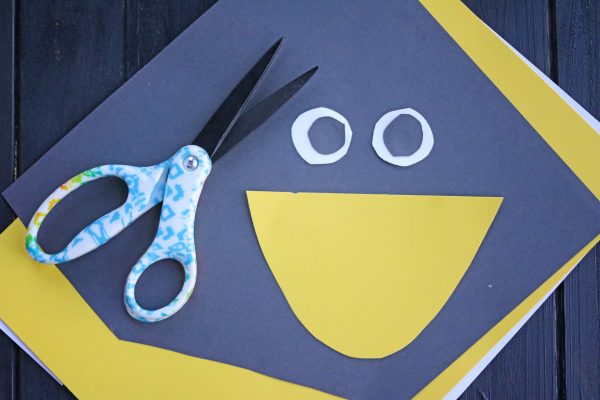
Now grab your cardstock. Go ahead and cut out a triangular beak from the yellow cardstock and eyes from the remaining.
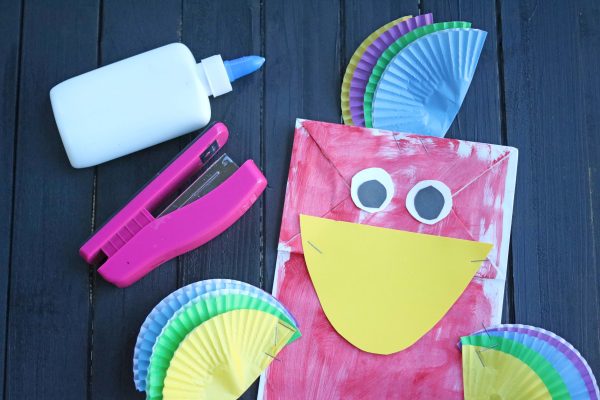
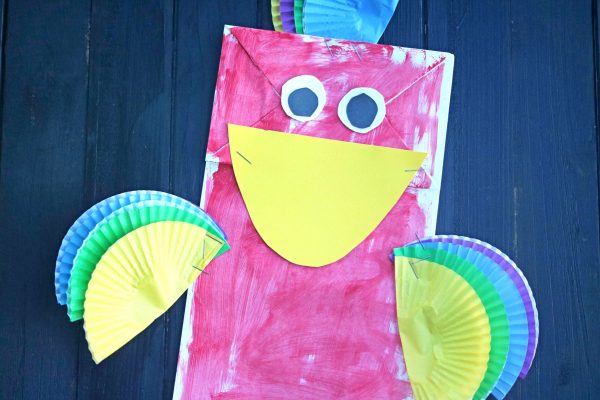
To finish off the Paper Bag Cupcake Liner Parrot craft, simple glue/staple on the cardstock pieces and cupcake liner “feathers” in their appropriate places on the paper bag and finish off with any other embellishments you see fit {like beautiful glitter and rhinestones} Then display/play with proudly for ALL to see!!!
Watch the trailer for The Wild Life:
Here’s a little more about the movie:
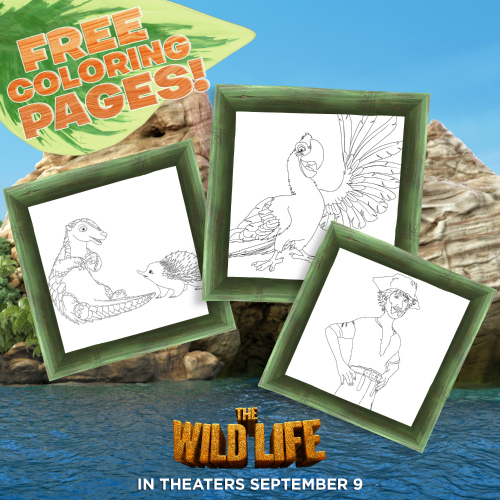
Make sure to download these free coloring sheets from the movie to celebrate these darling characters!
*Thanks to Lionsgate for sponsoring this post. Be sure to Like ‘The Wild Life’ on Facebook and follow them on Twitter and Instagram SaveSave