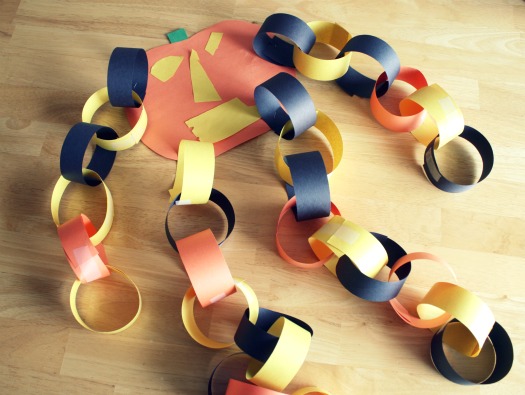
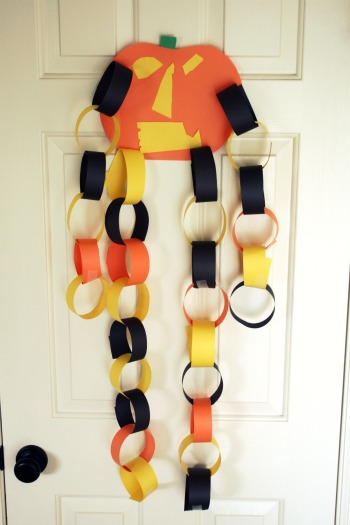
We made a classic paper chain counter, but turned it into a Pumpkin Paper Chain!
Supplies:
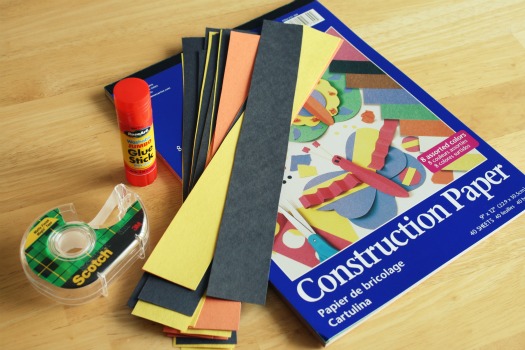
art paper – cut into 30 strips, and extra for pumpkin face scissors tape glue stick
Instructions:
Cut your paper into strips. I just used construction paper. I don’t suggest using cardstock paper, it’s a little more difficult to curl and tape the paper.
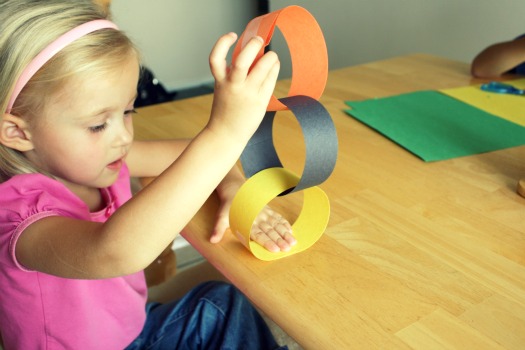
Form a circle with one strip and tape it closed. Loop another one through and tape, making them chain together.
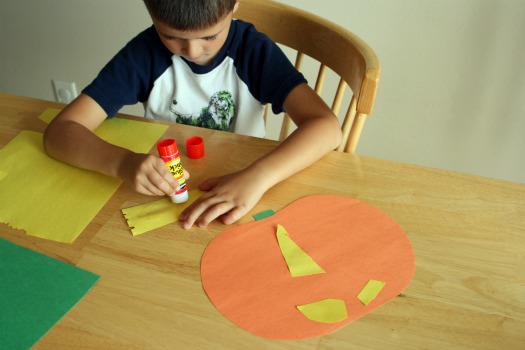
Now decorate a pumpkin face for the main body of the counter using your paper, scissors, and glue stick. I stapled the arms and legs onto the paper pumpkin. You could tape or glue these on, but we need them to last for a whole month and staples are a little more durable.
Display your cute pumpkin paper chain somewhere visible for the kids (I used packing tape to tape him up on the door, it’s kind of heavy with all the chains). Or you can use painter’s tape or even add him to a nail you have in the house on a wall. NOW… on the first day of October, they get to tear off ONE chain, and so on until all you have is the pumpkin face on Halloween.
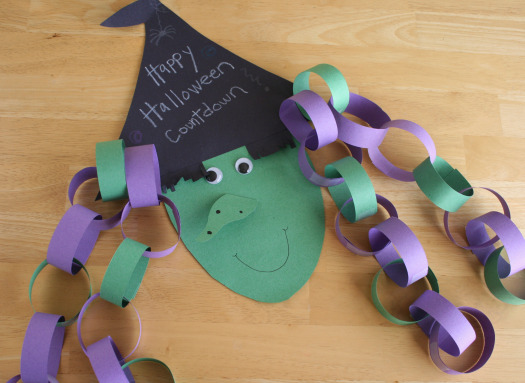
Your Halloween pumpkin paper chain could be made into a ghost of white paper chains, witch’s hair with green paper chains, or even a cute garland paper chain under the mantel.
Supplies for Witch Halloween Countdown:
paper – we used black, purple, and green art paper scissors or paper slicer glue or tape 2 googly eyes black marker white crayon
- Make the witch face: Cut a large triangle out of the black paper for the witch’s hat. Then cut out a large green circle for her head. Glue the hat on top of her face. Add the googley eyes and a nose and mouth. We made a 3D nose by folding down one end of the paper and gluing the bent flap to the face. We also added a few warts to her nose!
- Cut the witch hair: Cut 30 strips of paper using scissors or a paper slicer. We used green and purple paper and are making a fun pattern with them. We gave our witch two strands of hair on each side of her face, but you can make her hair go any way you’d like.
- Add the witch hair: Create a circle with each slice of paper, adding them to each other, creating a paper chain. I like to attach these paper chains with tape, but you can use glue or even staples. We made 4 chains – 2 with 7 chains and 2 with 8 chains to equal 30 chains. Then the last day will just be the witches spooky face! With your white crayon, add in a fun message to her black hat! Now she’s ready to countdown to Halloween. Either way you paper chain, it’s fun for the kids to watch as they get closer to the day of dressing-up and eating candy!