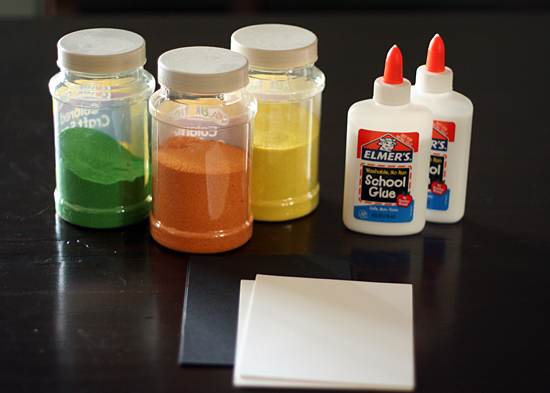
Supplies for Colored Sand & Glue Drawings:
bottle of white glue paper – construction paper or card stock colored sand plates, trays, or dish tubs for sand
You can find colored sand at the craft store, or order online from Discount School Supply. A little goes a long way – our supply has lasted us for a few years of projects! You can also make your own colored salt for this project using the tutorial at Flax & Twine.
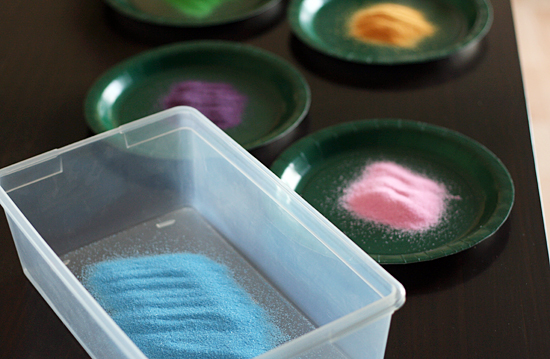
Gather some plates, trays, or plastic tubs for sprinkling and dumping the sand. If you’re crafting with little ones, I highly recommend using tubs to contain the mess.
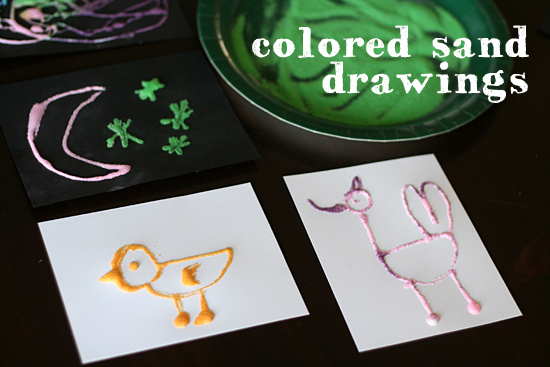
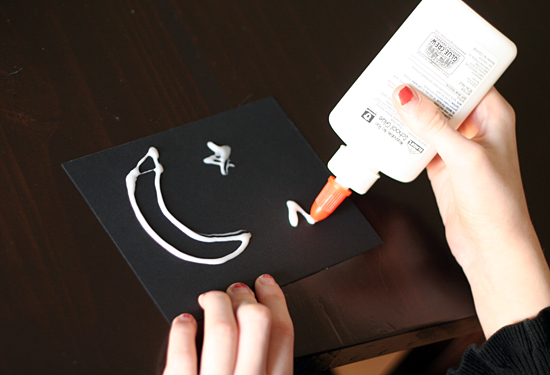
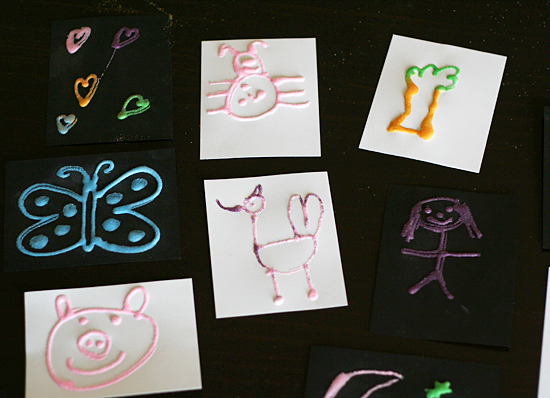
The first step is drawing a picture with glue. We used small pieces of paper to keep our designs simple. Draw a simple shape, animal, person, or even an abstract design of lines and dots. It takes a little practice to control the glue – remind your kids to touch the paper with the tip of the bottle and gently squeeze as they move.
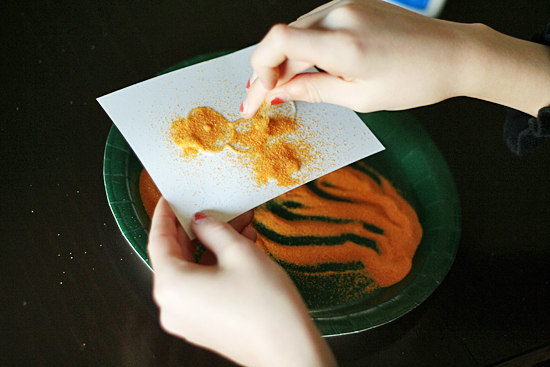
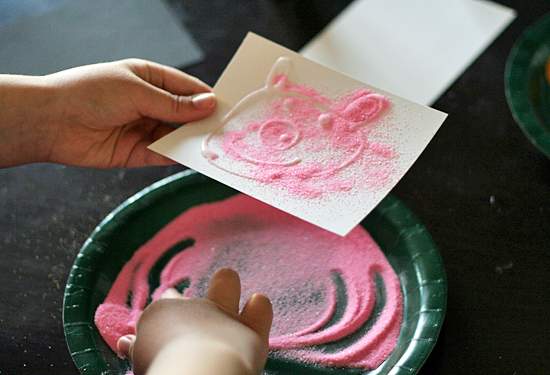
When the glue drawing is complete, cover the design completely with sand. Use just one color for the whole picture, or do parts in different colors. Just sprinkle and dump each color before moving on to the next.
When your glue is covered with a thick layer of colored sand, dump off the extra sand and gently tap your paper to reveal your picture.
Let dry completely and display! We especially like the way the colored sand pops on the black paper. So pretty! The colored sand is fun to play with, too – don’t be surprised if your kids want to spend some extra time running their hands through it.
Happy creating! SaveSave SaveSaveSaveSaveSaveSaveSaveSave