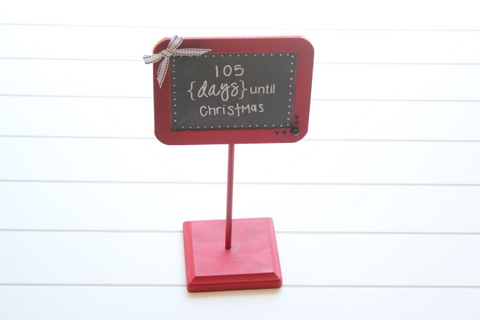
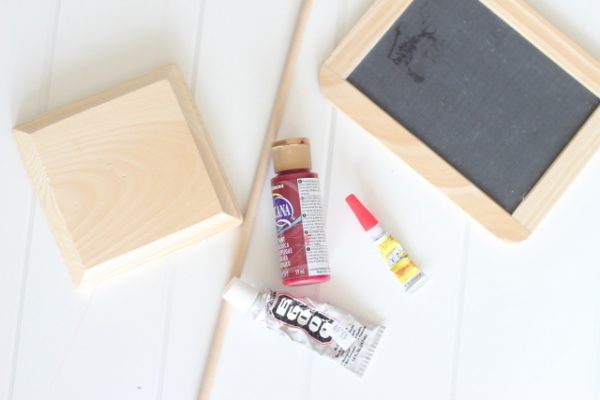
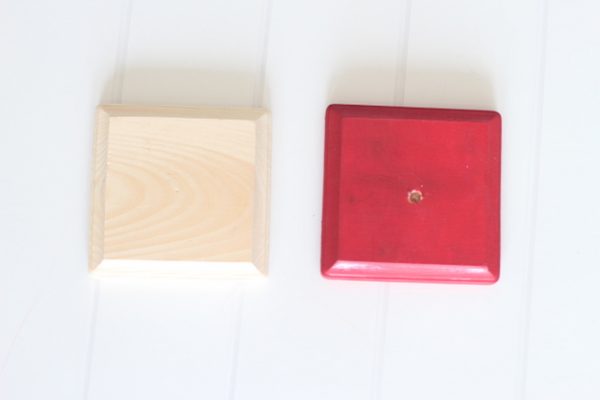
Supplies for Chalkboard Count Down:
square wooden base wooden dowel mini chalk board paint super glue “days until” printed vinyl embellishments – ribbon, buttons chalk
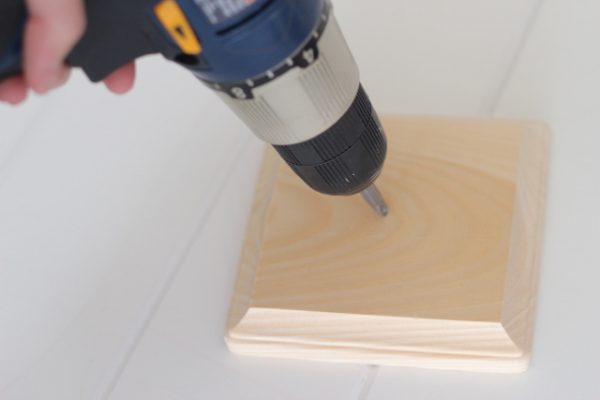
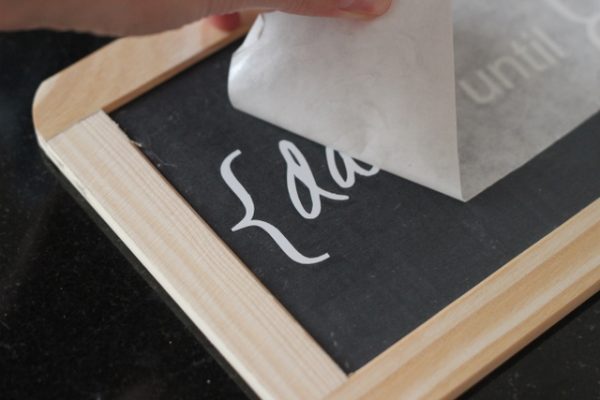
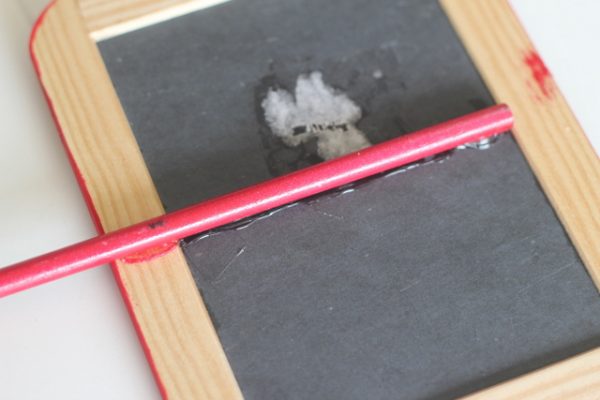
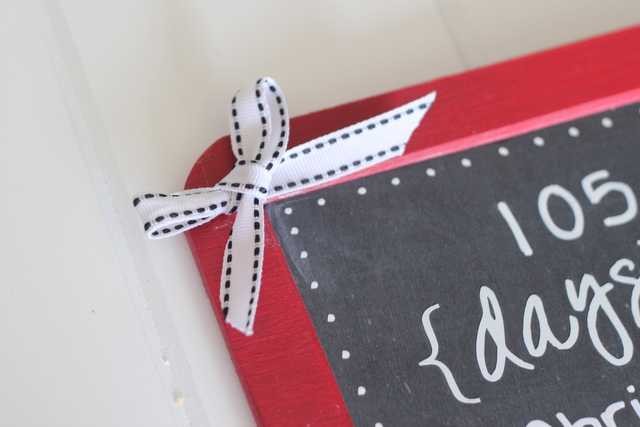
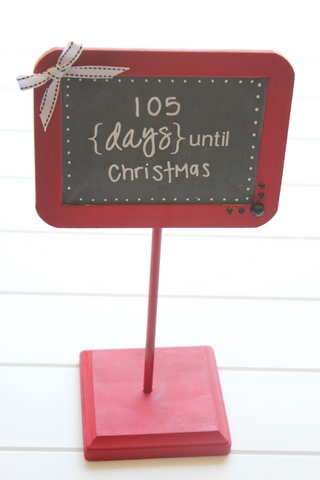
- Drill a hole into the wooden base (try to match the drill bit size to the wooden dowel). 2. Remove vinyl sticker and place in center of chalk board. I cut out the vinyl sticker with my cameo, however you could always use a stencil or write in “days until.” 3. Push down hard on the vinyl and then remove the transfer paper leaving the vinyl on the chalkboard. 4. Paint wooden base, dowel and frame around the chalk board. Allow several minutes to dry. You may want to paint the back of the frame as well if it will be seen. 5. Super glue wooden dowel to the back of the chalk board. Allow a few minutes to dry. Then place a little glue in the drilled hole and around rim of wooden dowel. Push dowel into the hole and hold in place for a minute. 6. Dress your chalkboard up with ribbon and embellishments. That’s all, simple as that! Enjoy your new chalk board countdown to remember all of lives important events!! SaveSaveSaveSaveSaveSaveSaveSave